
Work with In Progress Jobs
When a job in OPEN DISCOVERY is currently processing, paused, or queued up to be processed, it appears in the In Progress tab in the Job Manager. To view active or queued jobs, navigate to the Job Manager by proceeding through the steps described in Open the Job Manager.

With the Job Manager open, ensure the In Progress tab is selected in the top-left corner of the page. All active jobs that are currently processing appear in the Active Jobs section. All pending jobs appear in the Up Next section, within a grid. The Up Next grid displays information about each pending job, including:
- Type
- Case Name
- Date Submitted
- Submitted By
- Status
- Progress
- Priority
Rearrange Job Priority
If you would like to rearrange the order in which pending jobs are processed, you can do so in a number of ways. The Priority column in the job grid indicates the order in which each job will be picked up by the Job Manager agents. To rearrange the job order, do one of the following:
-
To move a job to a specific location in the priority list, click the job and drag it up or down to reorder it in the list.
-
To move a specific job to the bottom of the priority list, select the
 icon and click Move to Bottom. The job appears at the bottom of the list and is processed last.
 -
To move a specific job to the top of the priority list, select the
icon and click Process Next. The job appears at the top of the list and is processed as soon as the next Job Manager agent becomes available. -
To remove a specific job from the priority list, select the icon
and click Cancel Job. Then confirm you would like to cancel the job by selecting Yes in the confirmation dialog box that opens.
Sort the Jobs Grid
Additionally you can sort the list of queued jobs alphanumerically by selecting the column head in the grid whose contents you would like to sort. Clicking the Submitted By column, for instance, will show all queued jobs in alphabetical order based on the names of the users who submitted the jobs.

If you click the column head once more, all jobs display in reverse-alphabetical order.

|
|
Tip: If you would like to rearrange the order in which pending jobs are processed, you can do so by selecting the Priority column head, which sorts jobs based on their priority order. You can then click on a job and drag it up or down to reorder it in the list. |

Pause and Resume Jobs
If need be, you can pause an active job and return to it later. Doing so transfers the job from the Active Jobs list to the Up Next section of the Job Manager. The job remains paused indefinitely, and will not complete until you manually resume it. When resumed, the job continues where it left off.
- To pause an active job, click the
 icon on the right side of the job entry. The job moves from the Active Jobs list to the Up Next section.
 - To resume a paused job, click the
 icon on the right side of the job entry. The job moves from the Up Next list to the Active Jobs section and continues processing where it left off.
Filter the Jobs Grid
The Job Manager provides filtering capabilities to help you locate the specific jobs you need. Review the information below to learn more about working with filters.
-
When you apply a filter, the chip associated with the filter turns blue to indicate that it has been applied. Additionally, a number displays on the chip that represents the number of parameters configured within that filter. In the example below, two job types have been selected and applied. As such, the Job Type filter card has turned blue and displays +2 beside the name.

-
You can apply more than one filter at a time. For instance, you can use the Job Type filter to search exclusively for Print to PDF jobs, while using the Case filter to locate these jobs within a specific case. The combination of filters provides you with a more fine-grained search experience.
-
For most filter options, a Select All button is available that allows you to select every parameter with a single click. Once all items are selected, you can then deselect any unneeded items. For instance, if you would like to include most job types in your filter, you can save time by clicking the checkbox for Select All, then unchecking any of the job types you would like to exclude.
-
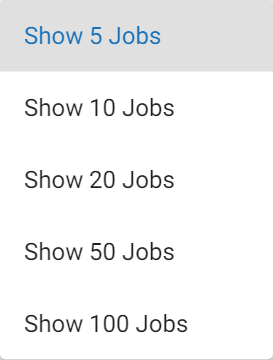
You can set how many jobs you would like displayed in the grid by using the Show Jobs dropdown. Options include showing 5, 10, 20, 50, and 100 jobs.

The table below describes the filtering options available on the In Progress tab of the Job Manager.
|
Option |
Description |
|---|---|
|
Job Type |
Use this filter to specify which job types to include in the Jobs grid. Select the checkbox beside a job type to include all jobs of that type in the grid. For instance, if you select the checkbox beside Import and Keyword List, only Import and Keyword List jobs will appear in the grid. Click the Apply button to apply the filter options you selected. |
|
Case |
You can use this filter to specify which cases to include in the Jobs grid. Select the checkbox beside a case to include jobs associated with that case in the grid. For instance, if there are five cases available, and you select the checkbox beside Case 1, only jobs associated with Case 1 will display in the grid. Click the Apply button to apply the filter options you selected. |
|
Date Submitted |
This filter displays jobs that were submitted on a specific date or within a specific date range. Choose from the options below:
|
|
Submitted By |
You can use this filter to display jobs submitted by specific users. Select the checkbox beside a user to include jobs submitted by that user in the grid. Any jobs submitted by other users are excluded. Click the Apply button to apply the filter options you selected. |
View Job Details
You can learn more about a job by clicking on it from the grid. The Job Details page opens, displaying information about the selected job.
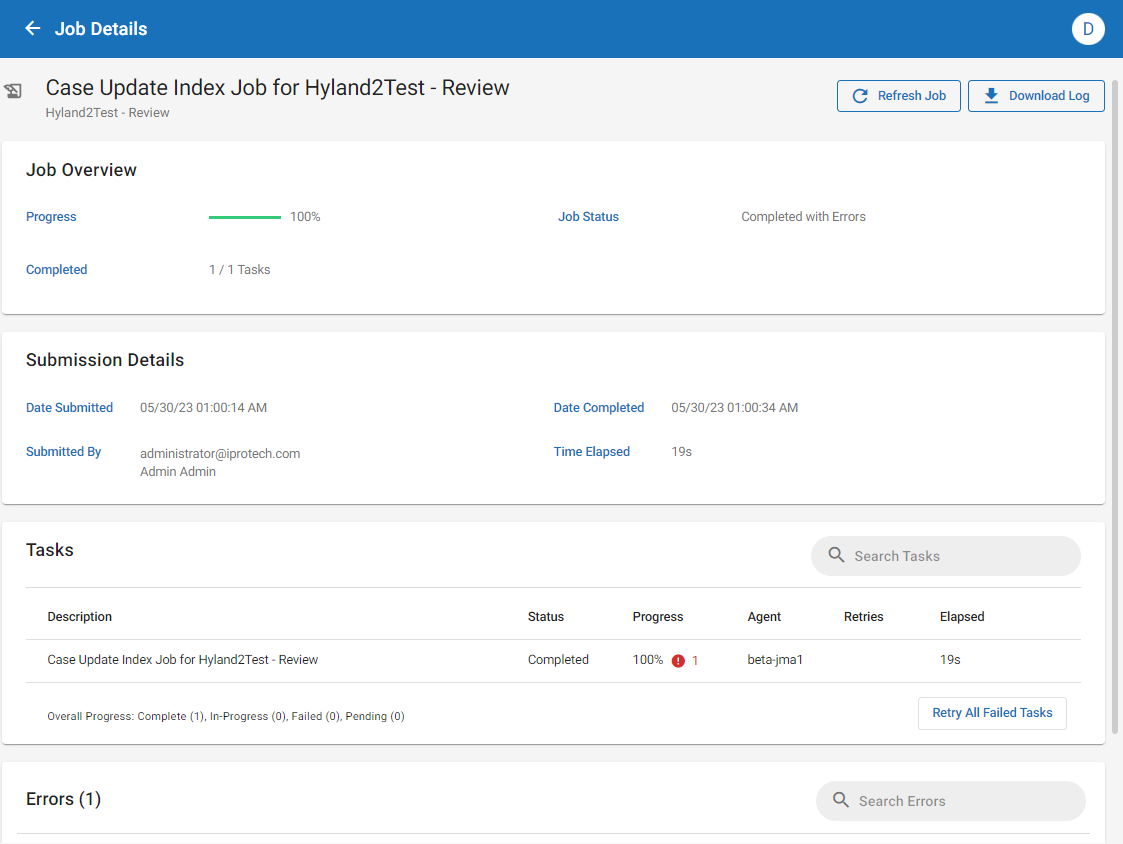
The Job Details page provides overview information about the job, as well as submission details, a list of tasks completed, and any errors that may have been encountered. Review the items below to learn more about the information included on the Job Details page:
|
|
Note: You can click the Refresh Job button, located in the top-right corner, to update the details page so that it displays the latest information about the job.
|


Related Topics