Set Presentation Preferences
Presentation Preferences enable you to customize the look and feel of your presentations, toolbar visibility, exhibit behavior, hotkeys, and much more.
To open Presentation Preferences, perform step 1 or 2:
-
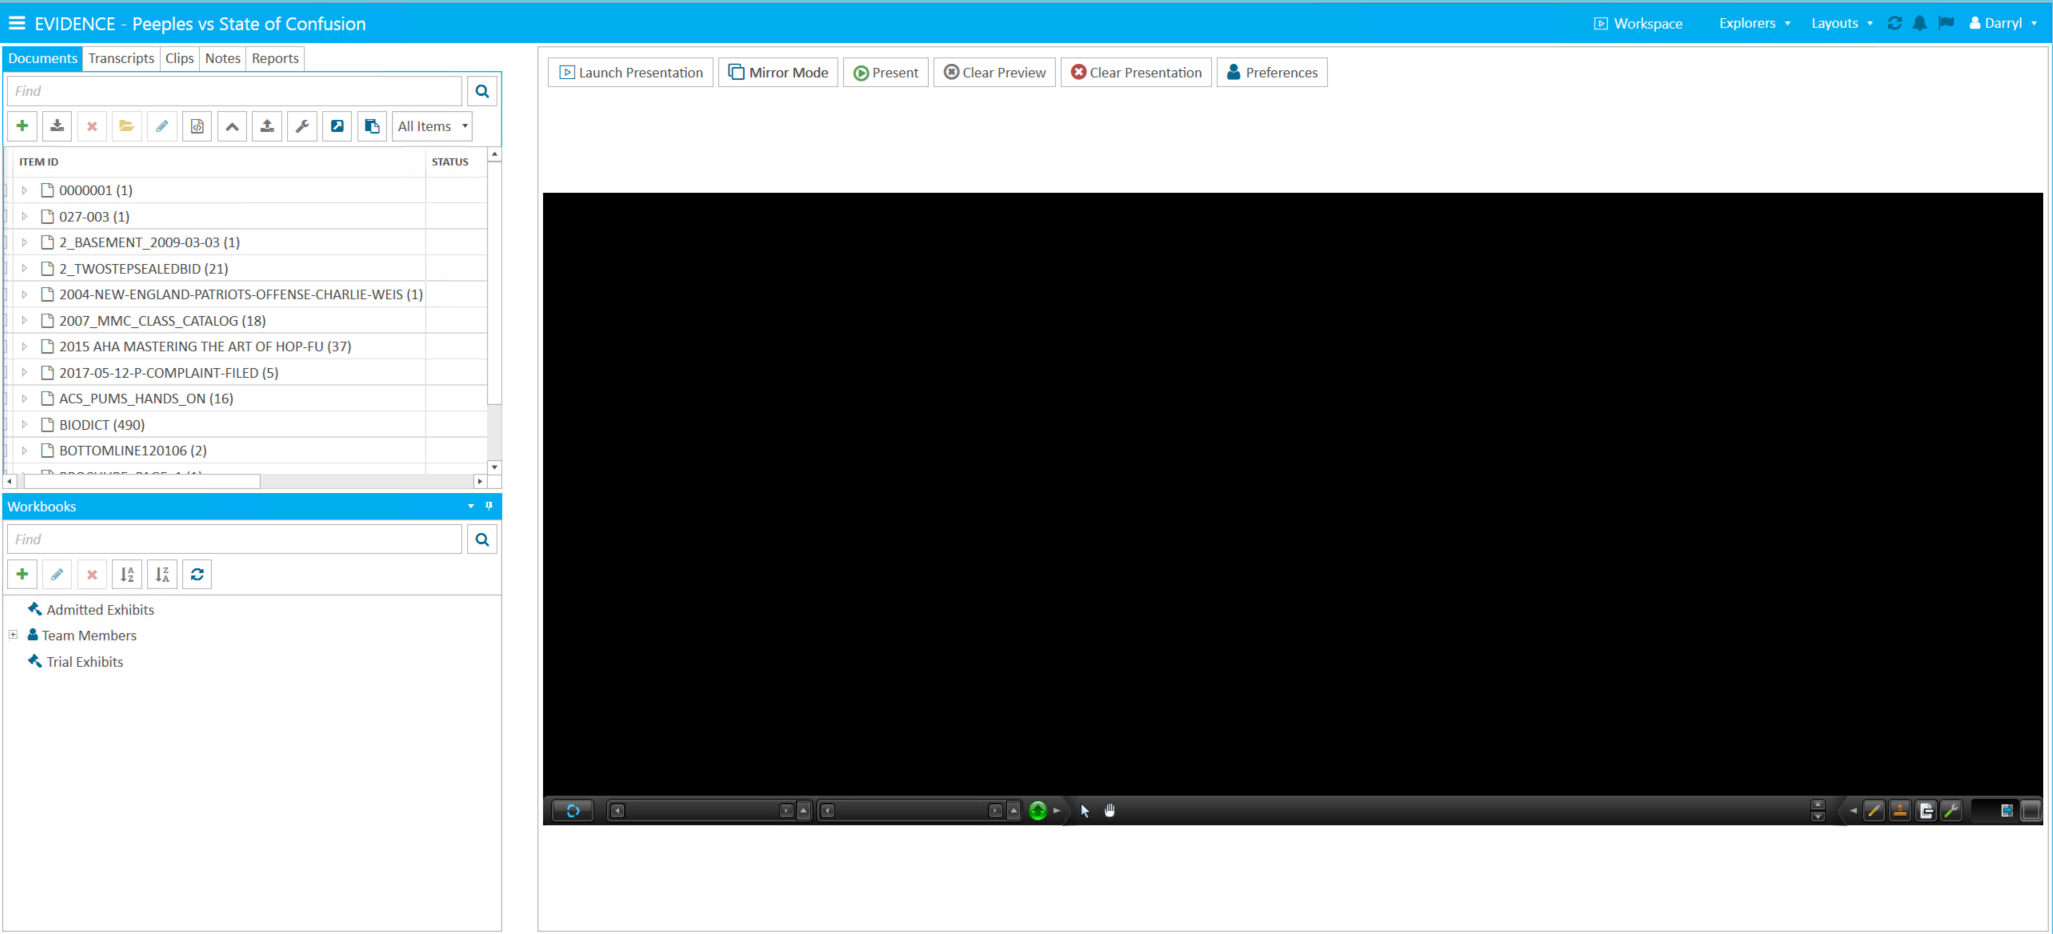
In the EVIDENCE module, open a case and click Presentation at the top right of the screen.

The Preview window opens.

Click Preferences at the top middle of the screen.
Or click
 in the bottom left corner of the Preview window to open the menu. Click Preferences in the menu.
The Presentation Preferences dialog box opens.

-
Alternatively, with the Preview window open, click Present at the top middle of the screen.

Click
in the bottom-left corner to open the menu. Click Preferences.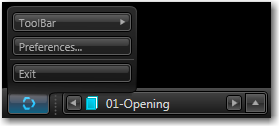
The Presentation Preferences dialog box opens.

Spend some time viewing the available options before you plan your next presentation. As you do this, click to expand or collapse groups of options as needed, and expand the Information text to learn more about specific options.
The following tables list the settings and where to locate them in the Presentation Preferences dialog box.
|
Option |
Info |
|
Log Presentation Event |
Select this option to record all steps performed during the presentation in a log file. You can use the log file to review the presentation later. |
|
Log File Location |
Use the Browse button to navigate to the location you will use to store the log file. After you complete the presentation, return to this screen and click View Log to see the file. |
|
Option |
Info |
|
Display Properties |
|
|
Display |
Select which monitor should display in Presentation mode, if dual monitors are enabled. |
|
Appearances |
|
|
Select a Theme |
Select one of the background shading themes from the dropdown menu. As you select a theme, a preview of it appears to the right. |
|
Reflection |
Select this option to display a subtle reflection below the exhibits. Use the slider bar to set intensity and see the changes appear in the preview to the right. |
|
Spotlight |
Select this option to display a subtle spotlight below the exhibits. Use the slider bar to set brightness and see the changes appear in the preview to the right. |
|
Background Image |
Select this option to display a fixed image behind all exhibits. Use the Browse button to navigate to the image file. A preview of the image appears above. |
|
Toolbar Preferences |
|
|
Hide Toolbar |
Select this option to hide the toolbar. The toolbar will only appear when the mouse is over the bottom edge of the screen. |
|
Show Tooltips |
Select this option to enable tooltips. A pop-up box will display the tool name when the mouse cursor is over each tool. |
|
Show Tree View Navigation Folders |
Select this option to show exhibits in the same tree structure as the Case Explorer when using the Presentation Toolbar. |
|
Show User Feedback |
Select this option to enable color-coded LED lights that will appear in the toolbar to indicate the status of the exhibit. For more information, see Presentation Mode Status Icon. |
|
Navigation Menu Height |
Set the height (in pixels) of the fly-up menus that appear in the navigation area of the Presentation Toolbar. |
|
Zone Indicator Sizing |
Set the size (in pixels) of the Zone Indicator icon that appears on the right side of the presentation. |
|
Toolbar Options |
|
|
Lock Toolbar Buttons |
Select this option to lock the toolbar buttons in place. |
|
Desktop Toolbar |
Select this option to have toolbar buttons optimized and sized for use on a desktop system or laptop. |
|
Tablet Toolbar |
Select this option to have toolbar buttons optimized and sized for use on a tablet with a touch screen interface. |
|
Zones |
|
|
Transfer Speed |
Use the Transfer Speed slider bar to set the speed at which exhibits move when you transfer them from one zone to another. |
|
Fade Speed |
Use the Fade Speed slider bar to set the speed at which exhibits fade in and out when they are loaded and closed. |
|
Replace Mode |
Select to replace the exhibit currently loaded with the next exhibit you load. |
|
Push Zone |
Select to shift the currently loaded exhibit into another zone. |
|
Resize Zone |
Choose whether or not the system should automatically resize the last exhibit remaining on the screen to use the full display. |
|
Default Zone Placement |
Select the zone an exhibit should be loaded in, if no other zone is selected. |
|
Caption Boxes |
Select whether or not to display a caption at the top of each exhibit. If enabled, select the type of ID to display as the caption. |
|
Option |
INFO |
|
Documents and Images |
|
|
Multipage View Mode |
Select this option to navigate the pages of a document using the Page Up, Page Down, Arrow keys and the scroll wheel of the mouse. Use the scroll wheel or Arrow keys to scroll up or down in the document. When the page boundary has been exceeded, the next proximate portion of the page will be displayed. |
|
Single Page View Mode |
Select this option to navigate the pages of a document using Ctrl+Page Up and Ctrl+Page Down. This option limits the view to one page of a document at a time. The mouse scroll wheel, Page Up, Page Down, and Arrow keys do not function in Single Page View Mode. |
|
Next of Previous Page in a Zone |
To display the previous or next page in a zone (i.e., To view pages of a document side by side), press (F2) and Ctrl+Page Down. To continue to page through a document, you will need to select either Replace Zone Mode (F11) or Push Zone Mode (F12) and press Ctrl+Page Down/Ctrl+Page Up to navigate through a document when viewing the pages side by side. |
|
Digital Video Transcripts |
|
|
Layout |
Select the layout position of the video and text for all synchronized video transcripts you present. As you select each layout option, a preview appears to the right. |
|
Layout Transition Duration |
Set the Layout Transition Duration to control how quickly the layout changes when you use the Ctrl+Tab or -DVT# options. See Commands and Keyboard Shortcuts for more information. |
|
Segment Indicator |
Select this option to display the current segment number in the top right corner. |
|
Show True Clip Time |
Select this option to display the multimedia parent timer when playing clips. If multiple source media files make up a single DVT, it will display cumulative time. |
|
Synchronization Highlight |
|
|
Highlight Style |
Select from the following options. None - No highlight style will be used. Simple - A white highlight against a gray background. Colorbar - Select your color of choice. |
|
Highlight Height |
Select how many lines of text the highlight area should span. |
|
Highlight Color |
Use this option to open the color palette and select a highlight color. This option is enabled when Colorbar has been selected as the highlight style. |
|
Synchronized Exhibits |
|
|
Enable Synchronized Exhibits |
Select this option to automatically display synchronized exhibits in a specified zone. Disable this option in situations where you decide not to display previously synchronized exhibits at the last minute due to judicial reasons or courtroom technology limitations. |
|
Display Synchronized Exhibits in Same Zone |
Select this option to display synchronized exhibits in the same zone. This option is ideal when using Zone 9 (full screen). When a synchronized exhibit is introduced, the DVT clips will minimize and the exhibit will fade into the full screen view. The DVT clip will continue to playback as the synchronized exhibit is displayed on the screen, or you can use the -PZ and -PL commands to pause/resume playback of the DVT while synchronized exhibit is active. |
|
Display Synchronized Exhibits in User Defined Zone |
Select this option to configure any logical combination of zones for DVT clips and their synchronized exhibits when this option is enabled. You can configure the Synchronized Exhibits Zone and the DVT Target Zone using the dropdown menus for each option. |
|
Transcript Options |
|
|
Show Page and Line Numbers |
Select to display both the page and line numbers of a transcript. |
|
Show Line Numbers Only |
Select to show only the line numbers of a transcript. |
|
Do Not Show Page and Line Numbers |
Select to show neither page nor line numbers of a transcript. |
|
Display Font |
Select the font for the transcript text that appears when you present synchronized video transcripts. |
|
Only Show Fixed Width Fonts |
Select this option to limit the list of fonts that provide uniform formatting. |
|
Closed Caption Font |
Select the font to appear at the bottom of synchronized video transcripts when the Closed Caption layout is selected. |
|
DVT Play Options |
|
|
Startup Behavior |
Specify whether video transcripts should play immediately after they are loaded in Presentation mode or remain paused until you click the play button. |
|
Shutdown Behavior |
Specify whether video transcripts should close automatically after playing to the end or remain paused until you close them. |
|
Transition |
Select the transition effect (or None) to use between segments. Using a transition eliminates hard cuts between segments. |
|
Transition Duration |
Select the duration, in milliseconds, for the transition to appear between each segment. |
|
Segment Start/End Adjustment |
Use these tools to adjust for the margin of error when dealing with video from a suspect source or video encoded using a variable bit rate. |
|
Multimedia |
|
|
Startup Behavior |
Specify whether multimedia files (such as surveillance video, audio recordings, etc.) should play immediately after they are loaded in Presentation mode, or remain paused until you click the play button. |
|
Shutdown Behavior |
Specify whether multimedia files should close automatically after playing to the end or remain paused until you close them. |
|
Facade |
Set the style of the frame surrounding videos.
|
|
Show Multimedia Time |
Select this option to display a timer in the lower right corner of multimedia at launch. |
|
Transcripts |
|
|
Display Font |
Select the font for the transcript text that appears when you present transcripts. |
|
Only Show Fixed Width Fonts |
Select this option to limit the list of fonts that provide uniform formatting. |
|
Carousels |
|
|
Opacity Settings |
Use the slider bars to control how visible the exhibits in the background are when you present carousels. |
|
Native Documents |
|
|
Microsoft Word |
Set this option to maximize the document area displayed when you load Microsoft Word documents in Presentation mode. |
|
Hide Title Bar |
Select this option to hide the Microsoft Word title bar. |
|
Microsoft PowerPoint |
Set this option to maximize the document area displayed when you load Microsoft PowerPoint documents in Presentation mode. |
|
Hide Scroll Bar |
Select this option to hide the Microsoft PowerPoint scroll bar. |
|
OPTION |
INFO |
|
General |
|
|
Default Tool |
Select the tool that should be enabled until you select another tool. |
|
Default Projection Tool Behavior |
When checked, the last used callout is armed. When unchecked, the Quick Launch Bar rotates through the callout options there. |
|
Annotations |
|
|
Line Thickness |
Set the line thickness (in pixels) for all arrows, lines, ellipses, etc. |
|
Redaction Border Thickness |
Set the thickness (in pixels) for the border surrounding all redaction boxes. |
|
Show Border |
Select this option to include a surrounding border for the redacted area. |
|
Add Redacted Text |
Select this option to include the word Redacted in the middle of the redacted area. |
|
Stamps |
|
|
Default Custom Set |
Select this option to display the set of custom stamps provided with the program. |
|
User Custom Set |
Select this option to display the set of custom stamps you have created. |
|
Custom Stamp Bitmaps |
Use the Browse button to navigate to the path where your bitmaps are located. The recommended custom size for bitmaps are at least 800 x 800 in pixel size. |
|
Save Stage |
|
|
Save Stage Prefix |
This prefix will be added to the file name of each stage that is saved in the presentation. For more information, see Save and Load Stages. |
|
Projections |
|
|
Overlap Projection Position |
Select this option to display an enlarged callout area that overlaps the original text/image. |
|
Offset Project Position |
Select this option to have the enlarged callout area appear as an offest box over the original text/image. |
|
Show Projection Lines (3D) |
Select this option to enable the shaded projection lines. |
|
Animate Projection Callouts |
Select this option to enable the animated projection callouts. |
|
OPTION |
INFO |
|
Assign Hotkey |
Select a command on the left and press the key (or combination of keys) to assign a command. See Change Evidence User Preferences for more information on hotkeys. |
|
Reset All to Default |
Select this option to remove all custom hotkeys. |
|
Clear |
Select this option to remove an existing hotkey. You will need to select the command the click the Clear button to remove the hotkey. |
|
Note in Notepad |
Select this option to view or print hotkey information. |

|
Note: For best reliability when playing back video in dual-monitor environments it is recommended to use a common DPI scaling setting for both monitors. |
Related Topics
Version: 2023.8.12
Last Revision: 11/8/2023