Configuring Indexing for the DFS Root
DFS crawling jobs can be run on multiple nodes and multiple threads in order to speed up data processing.
If you have previously configured a DFS connection pointing to a DFS root location, you can select this as the Data Source for your File Indexing job or Direct From Source File Archiving job.
When setting up the job that indexes data from the DFSRoot source location, you can opt to distribute shares across multiple nodes and threads in order to improve processing speeds.
The following applies only to a DFS root location.
For more information about the horizontal scaling options available, see steps below.
-
Log into the IPRO Admin UI.
-
Create a File Indexing job or a Direct From Source File Archiving job.
-
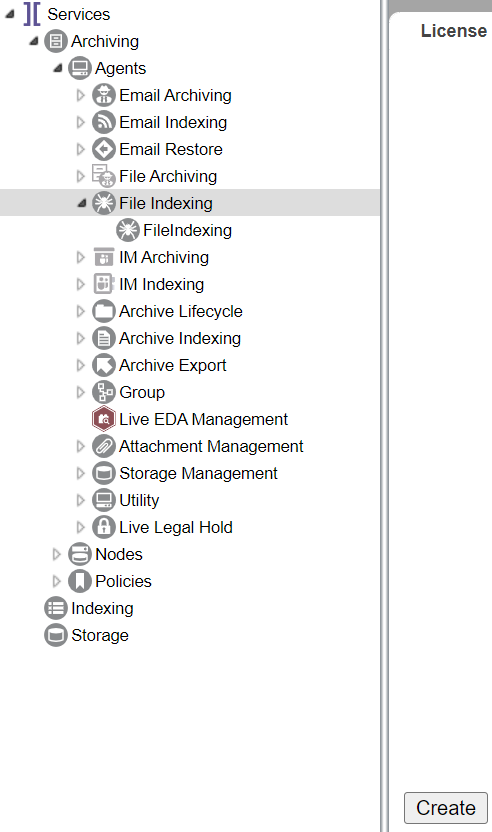
Navigate to Archiving > Agents > File Indexing. Click Create.

Enter a meaningful name for the job. Your newly created job appears in the navigation tree under File Indexing. Click on it.
-
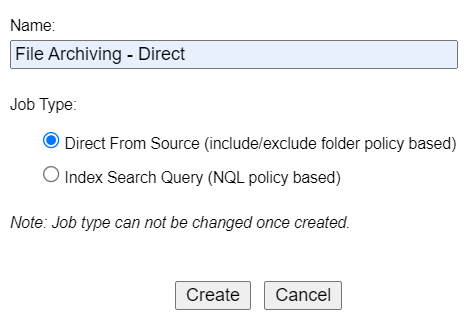
Navigate to Archiving > Agents > File Archiving. Click Create.

Enter a meaningful name for the job. For the Job Type, select Direct From Source.

Your newly created job appears in the navigation tree under Archiving Indexing. Click on it.
-
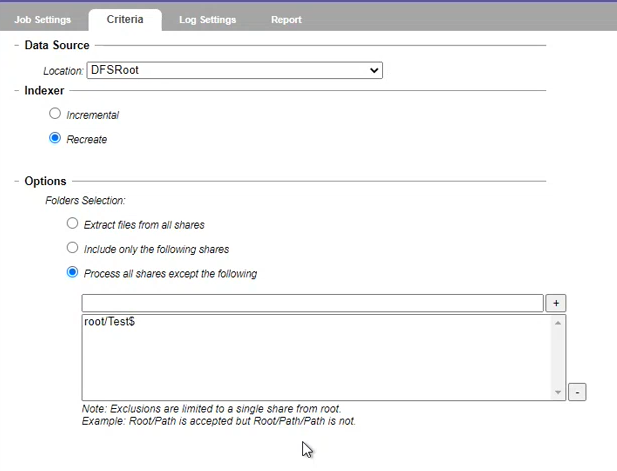
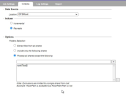
Open the Criteria tab. In the Data Source section, select the DFSRoot location.
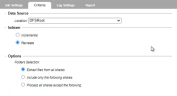
- In the Options section, you can specify the shares to be indexed. You can do this through the process of inclusion or exclusion. Select one of the following:
- Extract files from all shares: Does not restrict the scope of the crawling job to specific shares.
- Include only the following shares: Restricts the scope of the crawling job by including only the specified shares.
- Process all shares except the following: Restricts the scope of the crawling job by excluding the specified shares.
-
IMPORTANT
Only one level from the root is supported for exclusion. Paths more than one level deep, are purged. -
-
At the bottom-left of the tab, click Save.
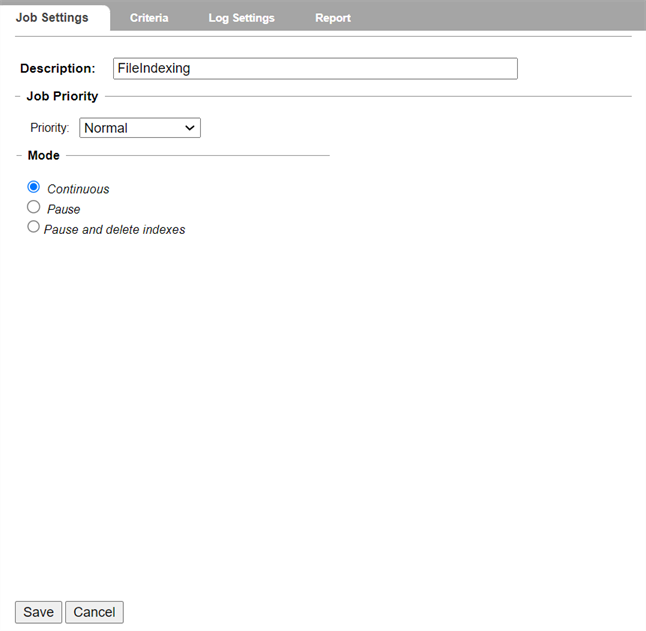
- Open the Job Settings tab.

- In the Description field, enter a description for the job. This is helpful if there are multiple jobs of the same type.
- In the Job Priority section, set a priority. Choose from Low, Normal, and High. Normal is the default priority.
- Click Save at the bottom-left of the screen. The job will run according to the specifications and schedule set.
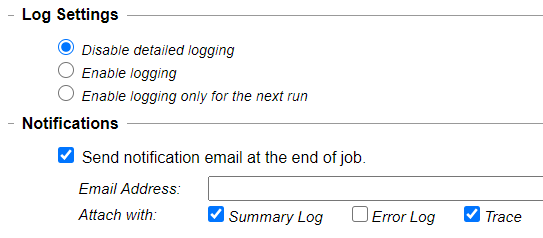
- (Optional) Logging provides detailed job logs for troubleshooting purposes. In the Log Settings tab, configure the desired log settings:
- Disable detailed logging (default setting)
- Enable logging
- Enable logging only for the next run
- You can also have email Notifications sent at the completion of a job, along with attachment options.

For more information about logging—see Configuring Logging.-
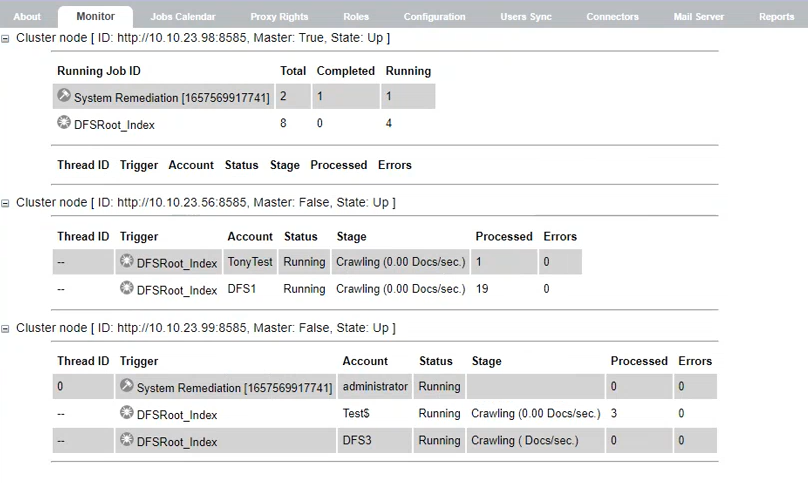
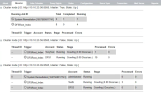
(Optional) Review the distribution of shares across nodes and threads. Go to Archiving and select the Monitor tab. For more information about monitoring—see Monitoring Jobs.
-
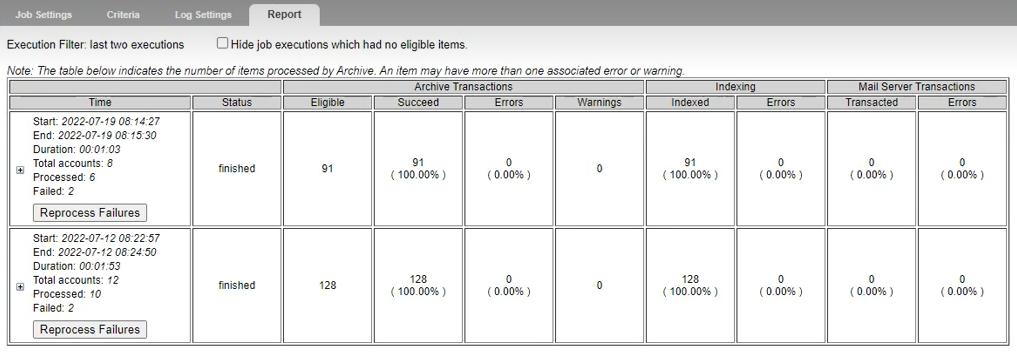
(Optional) Review the progress of the job. Go to File Indexing > or Archiving Indexing > your job. Select the Report tab. For more information about reviewing reports—see Viewing Reports.