Run a Report

Review gives users the ability to run reports on their transcripts. Users have the option to run:

  • a transcript report
  • a notes report
  • a quick marks report

For information on each type of report, see Report Properties.

In order to run any of the reports above, you must first navigate to the Transcript Viewer located in Review. To reach the Transcript Viewer from the Dashboard, click on the Review module.

A dialog box displays, prompting you to select the appropriate Client and Case. Double click on the correct Client (or click the plus icon beside their name) to expand a tree of all cases associated with that client. Locate the correct case and then click Open.

The Review work area displays.

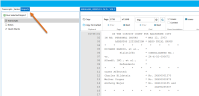
Locate the Transcripts tab in the Case Folder pane on the left of the Review work area.

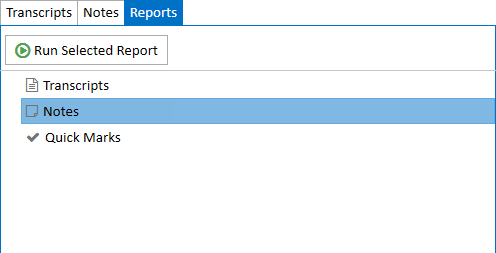
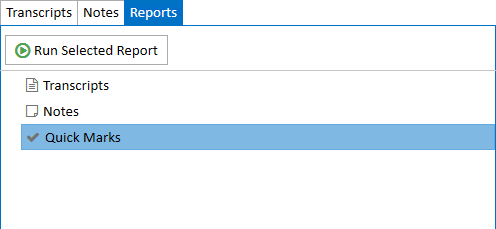
Double click the Transcripts tab to open the Transcript Viewer. To access the Reports Explorer, click on the Reports tab on the left side of the Transcript Viewer.

Report Properties

Users can run reports on transcripts, notes, and quick marks. To learn more about the function of each report type, review the table below:

Report

Definition

Transcripts

The transcript report gives you the ability to save an entire selected transcript, including issue tags, as a PDF or DOCX. You have the option of choosing a full-page view or condensed view of the transcript.

Notes

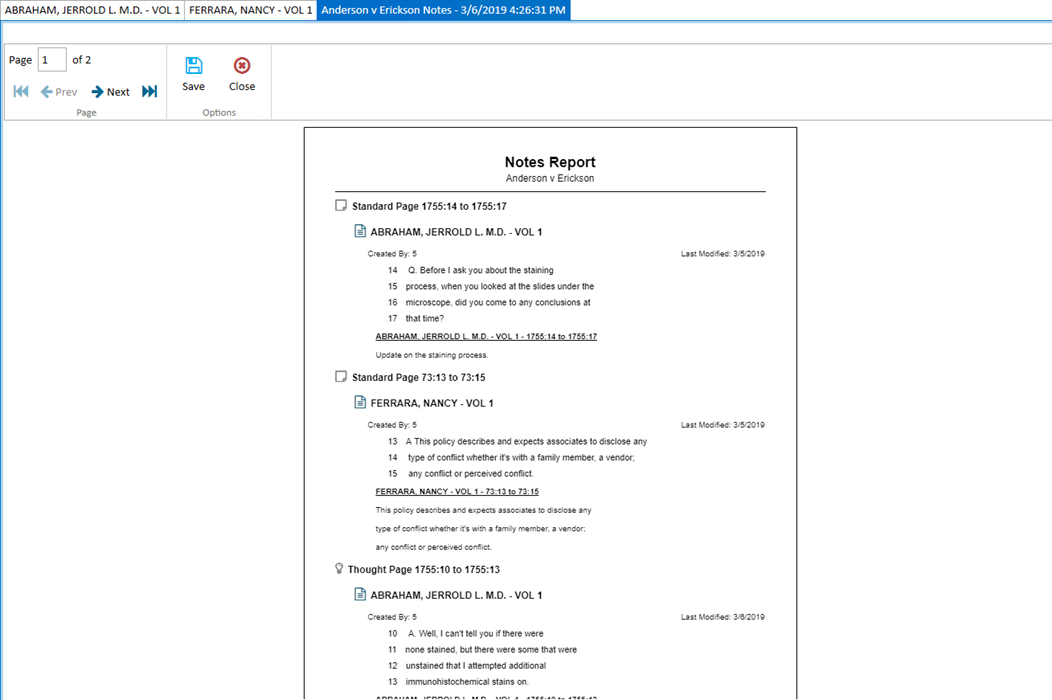
The Notes report provides information on the selected notes within the transcripts in an open case.

Quick Marks

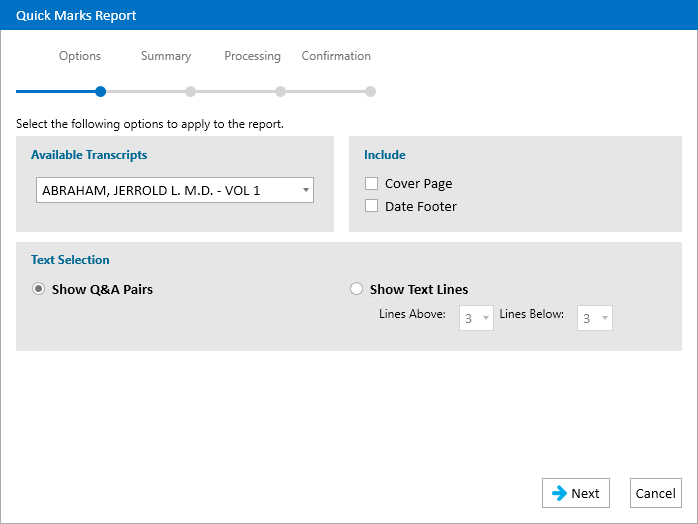
The quick marks report displays the quick marks associated with the selected transcript as well as several lines above and below.

Alternatively, you can review the properties of each type in the Reports Explorer by proceeding through the following steps:

  1. Open the Reports Explorer in a case. To access the Reports Explorer, click on the Reports tab on the left side of the Transcript Viewer.

  2. Depending on what report type you would like to learn more about, right click on one of the three options listed in the Reports Explorer: Transcripts, Notes, Quick Marks.

    Note: Make sure you right click on the text itself. Right clicking on a blank space will not open the context menu.

  3. In the context menu that displays, click Properties.

  4. Review the information. When finished, click Close.

You are now ready to run your reports. For instructions on how to run reports on transcripts, notes, or quick marks, follow the steps listed below:

Closed
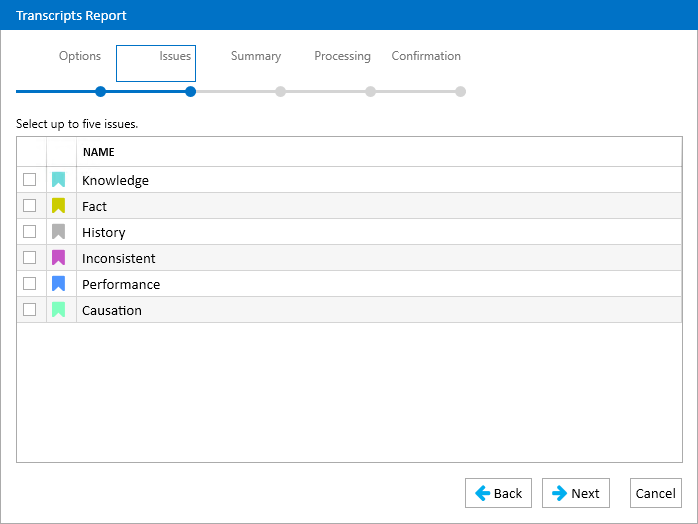
Run a Transcript Report
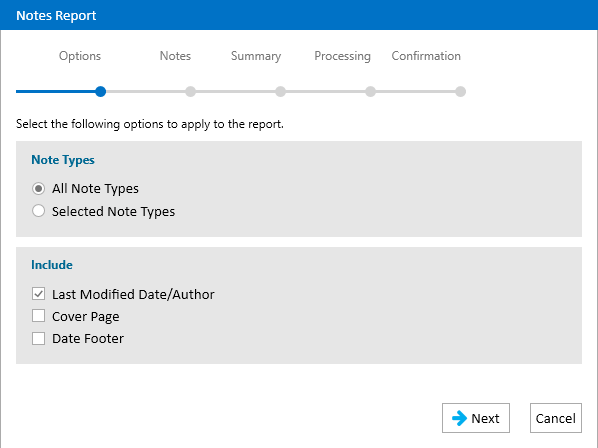
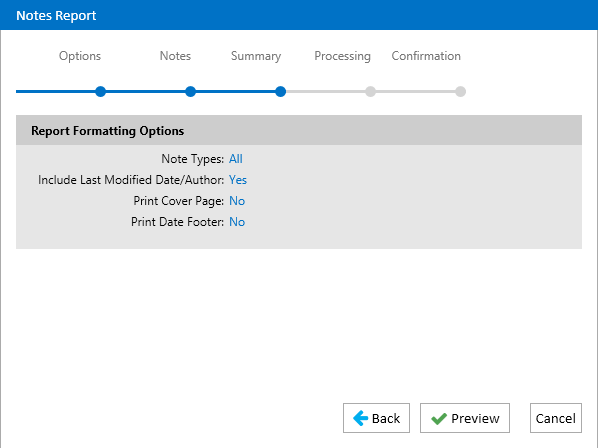
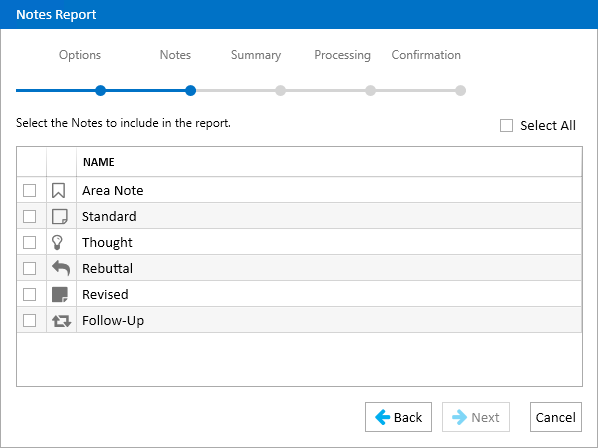
You can create a report of a transcript in your case using the Reports Explorer.

To create a Transcript Report, open the Reports Explorer in a case and follow the steps below:

  1. Select the Transcripts item in the explorer.

  2. Click the Run Report button in the explorer ribbon bar.

  3. The Transcript Report wizard appears.

  4. Ensure the selected options for the report are correct.

  5. Note: See the table below for information on all of the report options.

  6. Click Next.

  7. Continue to select options and click the Next button in the wizard until you arrive at the Summary page.

    On the Summary page, you can review the options you selected for the report and click the Back button if you need to make any changes.

  8. Click the Preview button.

  9. The report is generated and appears in the Report Work Area.

    You can use the options in the Report Work Area ribbon bar to perform any of the following actions:

    • Navigate between pages in the report

    • Save the report as a different file type.

      Note: Some reports may have a CSV save option.

    • Close the report

Report Options

The Transcript Report contains the following customization options:

Option

Definition

Available Transcripts

Select the transcript that you wish to run the report on from the options in the drop-down menu.

Include

You can choose to include the following options in the report:

  • Cover Page - If this option is selected, the report will include a cover page.

  • Date Footer - If this option is selected, the report will include a date in the footer of the report.

Report Type

You can choose between two options:

  • Full - Print one page of the transcript per page of the report. This can include issues.

  • Condensed - Prints multiple pages of the transcript per page of the report. You have the option of displaying the pages in order by column or row, or arranging them with notes to the right.

If you choose Full, and select the Include Issues option, you can choose the issues you want to include in the next step of the wizard. Select up to 5 types.

  • Fill Regions - Highlights the text of issues with the annotation's color.

Issue Selection

If you choose the Include Issues option in the first step of the wizard, you will be able to select the issues in the next step.

Select the issues you want to include in your report by clicking the check box next to the issue type. You can select up to five types. Every issue tag associated with those types will appear in the transcript report.

ClosedRun a Notes Report

You can create a report of the notes applied to transcripts in your case using the Reports Explorer.

To create a Notes Report, open the Reports Explorer in a case and follow the steps below:

  1. Select the Notes item in the explorer.

  2. Click the Run Report button in the explorer ribbon bar.

  3. The Notes Report wizard appears.

  4. Ensure the selected options for the report are correct.

  5. Note: See the table below for information on all of the report options.

  6. Click Next.

  7. Continue to select options and click the Next button in the wizard until you arrive at the Summary page.

    On the Summary page, you can review the options you selected for the report and click the Back button if you need to make any changes.

  8. Click the Preview button.

  9. The report is generated and appears in the Report Work Area.

    You can use the options in the Report Work Area ribbon bar to perform any of the following actions:

    • Navigate between pages in the report

    • Save the report as a different file type.

      Note: Some reports may have a CSV save option.

    • Close the report

Report Options

The Notes Report contains the following customization options:

Option

Definition

Note Types

You can choose between two options:

  • All Note Types - Report includes all note types used in the case.

  • Selected Note Types - Report includes only the note types you select.

If you choose the Selected Note Types option, you can choose the notes you want to include in the next step of the wizard.

Include

You can choose to include the following options in the report:

  • Last Modified Date/Author - If this option is selected, the report will include the date when the note was last modified and the author.

  • Cover Page - If this option is selected, the report will include a cover page.

  • Date Footer - If this option is selected, the report will include a date in the footer of the report.

Note Type Selection

If you choose the Selected Note Types option in the first step of the wizard, you will be able to select the note types in the next step.

Select the note types you want to include in the report by clicking the check box next to the note type. Alternatively, you can select all the note types by clicking the Select All check box.

Closed
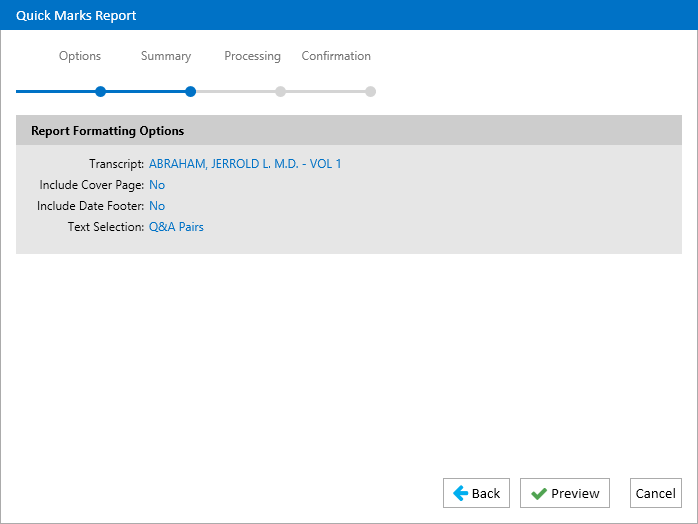
Run a Quick Marks Report

You can create a report of quick marks in a selected transcript in your case using the Reports Explorer.

To create a Quick Marks Report, open the Reports Explorer in a case and follow the steps below:

  1. Select the Quick Marks item in the explorer.

  2. Click the Run Report button in the explorer ribbon bar.

  3. The Quick Marks Report wizard appears.

  4. Ensure the selected options for the report are correct.

  5. Note: See the table below for information on all of the report options.

  6. Click Next.

  7. On the Summary page, you can review the options you selected for the report and click the Back button if you need to make any changes.

  8. Click the Preview button.

  9. The report is generated and appears in the Report Work Area.

    You can use the options in the Report Work Area ribbon bar to perform any of the following actions:

    • Navigate between pages in the report.

    • Save the report as a different file type.

      Note: Some reports may have a CSV save option.

    • Close the report

Report Options

The Quick Marks Report contains the following customization options:

Option

Definition

Available Transcripts

Select the transcript that you wish to run the report on from the options in the drop-down menu.

Include

You can choose to include the following options in the report:

  • Cover Page - If this option is selected, the report will include a cover page.

  • Date Footer - If this option is selected, the report will include a date in the footer of the report.

Text Selection

You can choose between two options:

  • Show Q and A Pairs - Shows the Q and A pair that surrounds the quick mark reference.

  • Show Text Lines - Shows the lines above and below the quick mark reference.

If you choose the Show Text Lines option, you can choose the number of lines above and below the quick mark reference to be shown.


Related Topics

Overview: Transcripts

Add, Edit, or Remove a Transcript

Review a Transcript