Installing External Certificate for LIVE EDA
Administrators may want to access LIVE EDA securely from outside your organization's technology environment. To do so, you must configure an external SSL certificate.
You will need the default certificate and key which are located in C:\Program Files (x86)\Messaging Architects\Netmail WebAdmin\var\dbf and are named osslcert.pem and osslkey.pem respectively. If you do not have either one, you can generate them.
How to Generate a Key and Certificate
If you already have a certificate and key, proceed with How to Configure Certificate for LIVE EDA below.
- Download openssl for Windows and unpack to a convenient folder.
- Copy the openssl.cnf file to the openssl bin directory.
- From the openssl bin directory, open a command prompt with elevated privileges.
- Using the Fully Qualified Domain Name (FQDN) for which you will request the certificate, run the following command:
openssl genrsa -out <NameOfYourCertificate>.key 2048- This command will generate a .key file that will be used in the next step. Do not lose the .key file as it is needed throughout this process.
- At the same command prompt, run the following command:
openssl req -new -key <NameOfYourCertificate>.key -out <NameOfYourCertificate>.csr -config openssl.cnf- This will create a .csr file that you will send to your Certificate Authority (CA) such as Entrust or GoDaddy.
- You will be prompted for location information (country, state, city, organization name, organizational unit (i.e., IT) and common name. Note that the common name must be the FQDN for which you are requesting the certificate.
- Create a challenge password and keep it safe, as your CA may request it.
- Submit the .csr file to your CA. They will process the request and send you a certificate.
How to Configure Certificate for LIVE EDA
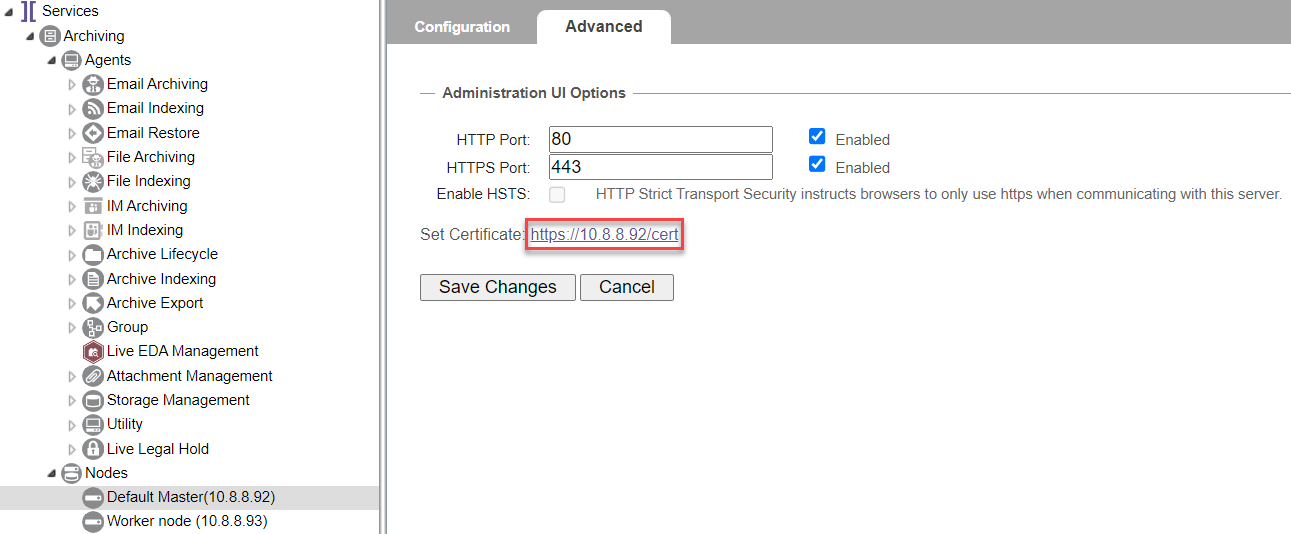
- In the IPRO Administration Console, go to Archiving > Nodes > Default Master > Advanced and click Set Certificate.

- Enter the certificate and key by doing one of the following:
- Enter text according to specific syntax described in the UI.
- Upload a PEM file.
-
IMPORTANT
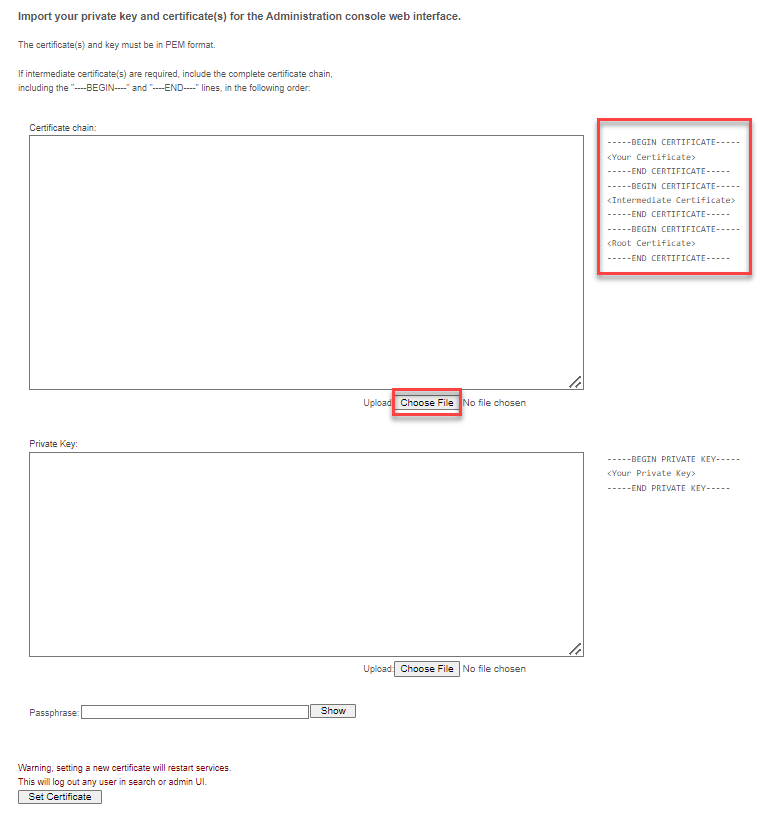
If uploading a file, the certificate(s) and key must be in PEM format. - If you obtain your certificate from an intermediate CA as opposed to a root CA, you may receive more than one certificate. Some CAs will provide a group of certificates as a single bundle file, whereas others may provide them as multiple files. If you receive multiple files, simply copy and paste all contents of all certificate files into one new text file, but paste the contents of the intermediate CA certificate into the new text file first, followed by the contents of the root certificate. When finished, save it with the same name as the original certificate file. If intermediate certificate(s) are required, include the complete certificate chain, according to the syntax shown below.

- Enter a Passphrase.
- By default, the passphrase you enter will be hidden. Select Show or Hide to change.


- Click Set Certificate.
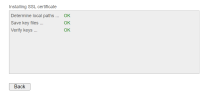
- The certificate installation wizard loads, which shows set up progress and success.