Configuring User Mapping
User Mapping unifies different user identities belonging to the same data owner under their unique User Principal Name (UPN), which is provided by Azure or Windows Active Directory.
User Mapping requires synchronization with Azure or Windows Active Directory.
User Mapping requires access to the Identity Management Cache in order to map the users in the Active Directory to the
-
Integrate the application with Office 365. Register the SyncAD application with the Microsoft Identity Platform to populate the Identity Management Cache - the User Identity Cache in Azure - with Platform User Objects.
-
Create an Identity Management Cache (IMC) job. The IMC job will connect to Active Directory for OnPremise and Azure Active Directory for O365. When the IMC job is configured, objects are created in the IMC stored in LDAP. The objects have attributes pulled from the Active Directory. To learn more about the objects created in LDAP—see LDAP Object Details.
-
NOTE
If IMC is disabled, SyncAB will automatically populate the Platform Users in sync with the User Cache. See step for details. -
If there are users who still exist in a Legacy Email Archive but are no longer in the Active Directory, the Archive2Identity tool must be run—see Configuring Legacy Email Archives.
-
Perform the User Mapping. If you have connected only to data sources within the same Microsoft ecosystem, you can apply automatic User Mapping. If you have connected to additional data sources, you must perform manual User Mapping.
The following steps are only required if your ID management is in Office 365. Skip this step if you have on premises Active Directory.
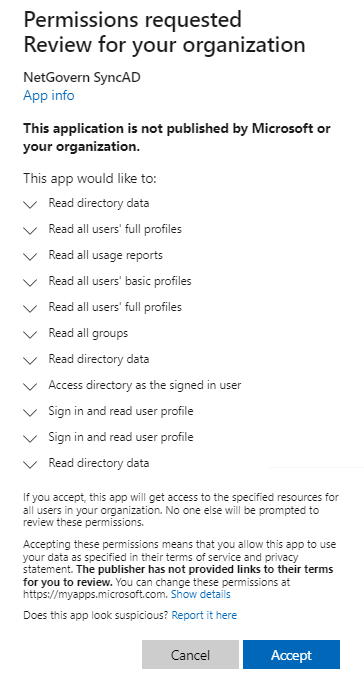
- To register the SyncAD application, enter the following URL in a web browser:
https://login.microsoftonline.com/common/adminconsent?client_id=aa935e1e-0f68-452c-9fba-edb0f7dc9186&state=12345&redirect_uri=https://localhost - You should already be logged in to Office 365 with your Global Administrator Account. If not, log in, following any prompts to use the correct credentials.
- Grant permissions to the application. Click Accept.
-

-
You will be redirected to the following URL, which indicates successful registration
:
https://localhost/?admin_consent=True&tenant=12cf9842-fb72-4b1d-9f89-6a69e478f803
The page will not resolve and can be closed.
IMC jobs are not functional in Groupwise environments where the PrimarySMTP email address is not populated on the AD User Object or the version pre-dates 2012 where User Sync is handled by eDirectory. IMC jobs must be disabled to allow SyncAB to automatically populate the Platform Users, keeping in sync with the User Cache.
- Log into the IPRO Admin UI.
- Select Archiving.
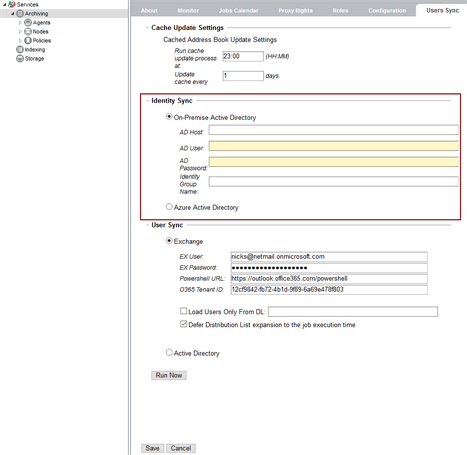
- Open the Users Sync tab.
- Navigate to the Identity Sync section.

- Choose one of the following options:
- Select On-Premise Active Directory and enter the AD Host, AD User, and AD Password details in the relevant fields.
- (Optional) If you would like to pull a subset of users, enter the Group Name in the Identity Group Name field.
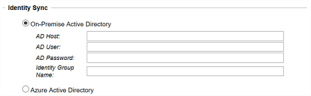
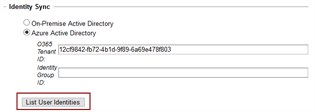
- Select Azure Active Directory and enter the O365 Tenant ID in the relevant field.
- (Optional) If you would like to pull a subset of users, enter the Group ID in the Identity Group ID field.

- Scroll down and click Save.
- (Optional) To run the job immediately, click Run Now.
- (Optional) To view or edit Active Users and Inactive Users, click List User Identities.

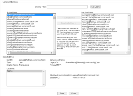
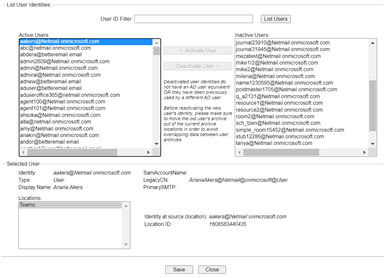
- (Optional) Click List Users to list all users or enter a user name in the User ID Filter search bar.
- The left-hand pane displays all Active Users, the right-hand pane displays Inactive Users. If a user identity has been deprovisioned in the Active Directory, the user identity is deactivated in the IPRO Admin UI.
- (Optional) To see the details of a particular user, double-click on the user entry.
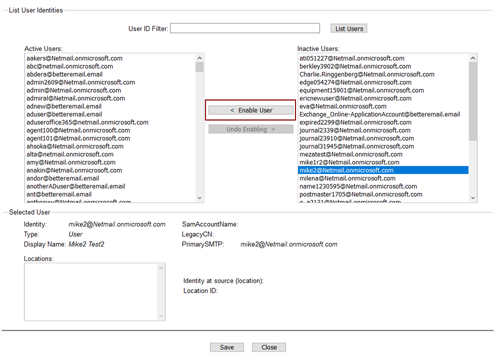
- (Optional) If a user identity has been deprovisioned in the Active Directory, the user identity is deactivated in the IPRO Admin UI. You can select an Inactive User from the right-hand pane and click Enable to grant active status and make them appear in the Active Users list.

-
IMPORTANT
Before reactivating a new user's identity, make sure to move the old user's archive out of the current archive locations in order to avoid overlapping data between user archives. - (Optional) When finished, click Save.


When you have configured and run the IMC job, determine if you must run the Archive2Identity tool. The Archive2Identity tool maps users who still exist in a Legacy Email Archive but are no longer in the Active Directory. Complete the relevant steps—see Configuring Legacy Email Archives.
Automatic User Mapping is available only when connecting to an external location that is part of the Microsoft ecosystem. The users in these systems have a UPN-based, unique identity. When the IMC job is run, it will recognize this UPN value and automatically create the mapping.
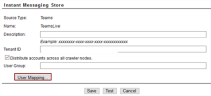
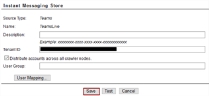
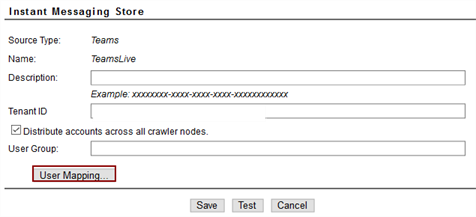
Automatic User Mapping is available for Gmail, OneDrive, SharePoint, Teams, and Windows File Share.
User Mapping is automatically enabled for LiveMail and Email Archives. User Mapping must be performed for MS Teams in order to make the indexed and archived data available in the
- Log into the IPRO Admin UI.
- Select Archiving.
- Open the Connectors tab.
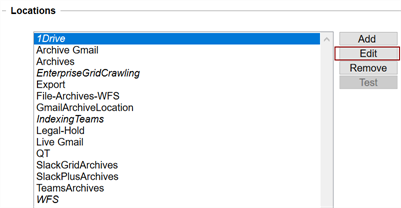
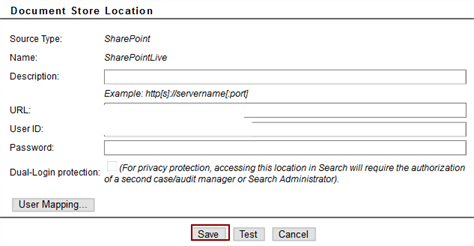
- Select the location in the available list.
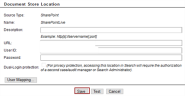
- Click Edit.

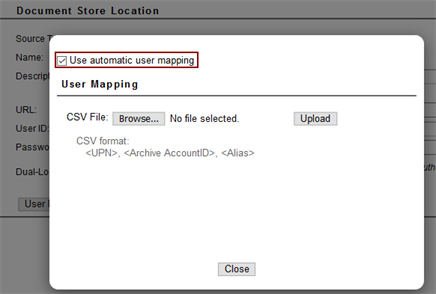
- Click User Mapping.
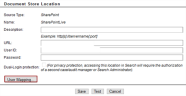
- Enable Use automatic user mapping.

- Click Close.
- Click Save.

The mapping file links the user's identity in the external system to their unique UPN value in the Active Directory. Manual User Mapping must be performed for connectors to external systems, including Box for Business, Egnyte, ShareFile, and Slack.
- Log into the IPRO Admin UI.
- Select Archiving.
- Open the Connectors tab.
- Select the location in the available list.
- Click Edit.
-
- Click User Mapping.
- Click Browse to find the user mapping CSV file that contains the users in the Identity Management Cache.

- Click Upload.
- When you have uploaded the correct CSV file, click Close.
-
IMPORTANT
An updated version of the User Mapping CSV file will need to be uploaded whenever changes are made to the provisioning or deprovisioning of users in the Active Directory. - Click Save.
- Click Save at the bottom-left of the Connectors tab.


An API can be used to automatically push from your identity system. Contact IPRO Support for more information.