Configuring Grooming
Archive Lifecycle provides organizations with the ability to create policies to address their long-term records retention and records management needs. Archive Lifecycle gives you the ability to manage archived data by creating jobs to delete expired messages, or to automatically move subsets of archived data to alternate archive locations in a process called grooming. To begin, you must first create an Archive Lifecycle policy that processes items you want to groom—see Configuring Policies. Then, you can create and configure the Archive Lifecycle Groom job, called an Archive Lifecycle job in IPRO.
- Select Archiving > Agents > Archive Lifecycle > your job.

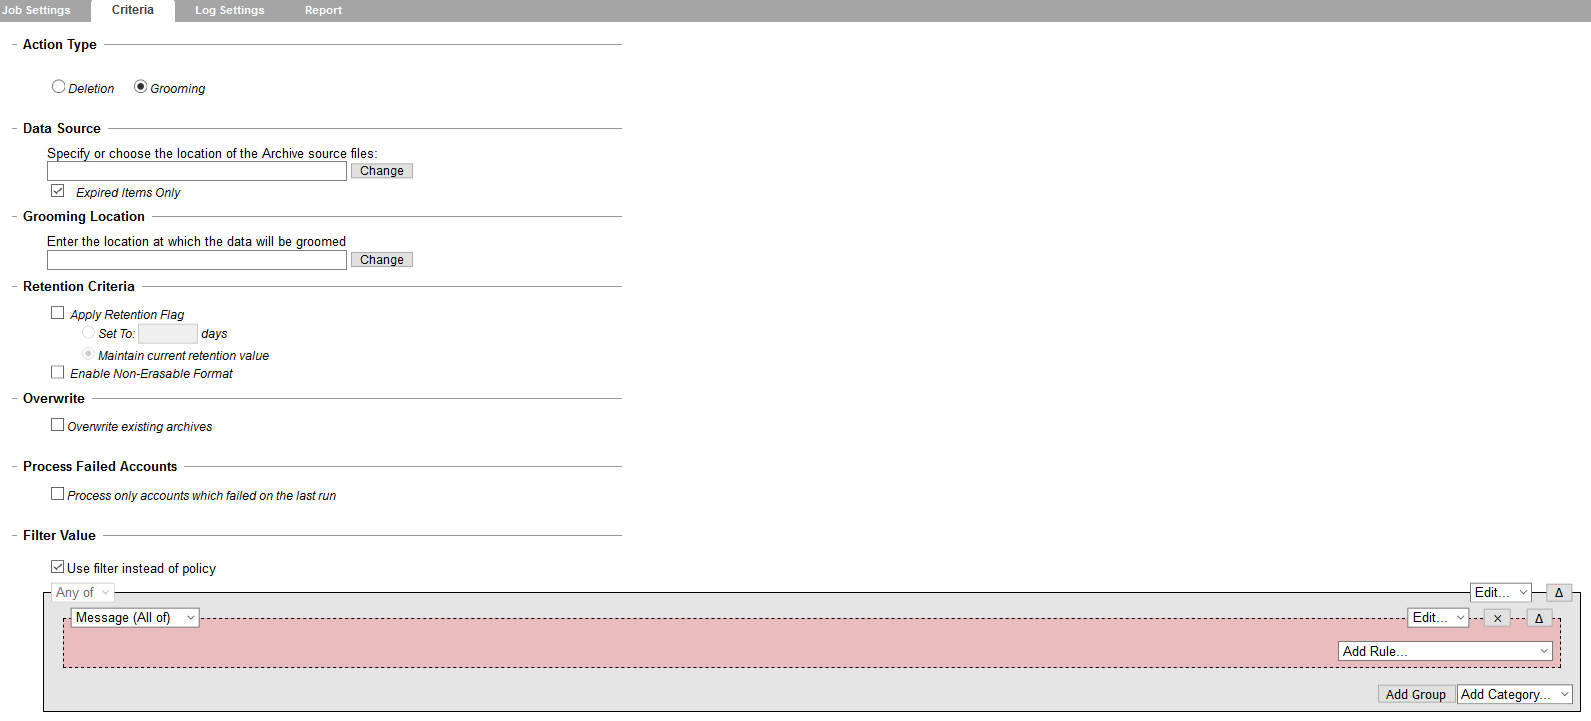
- Select the Criteria tab.
- In the Action Type section, select the Grooming option.
- When using the grooming action type, you need to specify a target storage location to which you want to move the selected archive data (the data will be removed from the Source location).
- A common scenario involves grooming older archive data to storage locations on cheaper storage subsystems, such as NAS. As archive data gets older, it is typically accessed less frequently by end users. Moving this data to slower, cheaper storage allows your organization to manage retention storage costs. Another scenario involves grooming data to non-rewritable and non-erasable WORM media.
-
NOTE
If you need to copy data instead of moving it, use an Export job. -
NOTE
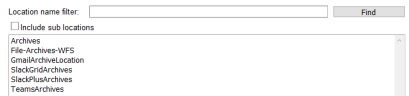
The Archive Lifecycle Groom job will not act upon the attachments of a location. Only the audits and .xml will be moved. - In the Data Source section, select the storage location on which the archive files reside.
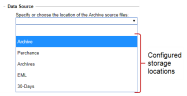
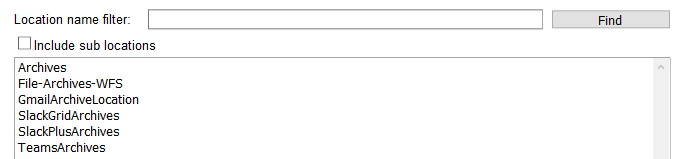
- You can also click Change to Find your configured storage locations.
-
NOTE
If no storage locations appear, it means that storage locations were not configured. Before proceeding, you must specify one or more storage locations—see Configuring Locations. - Select Expired Items Only option to delete or groom expired items only. In this scenario, select the location of your WORM media device.
- If you do not choose this option, the Archive Lifecycle job will groom the items based on the date range specified in the filter criteria assigned to the job, regardless of the retention flag applied to the items at the time of their archiving.
-
NOTE
If no storage locations appear, it means that storage locations were not configured. Before proceeding, you must specify one or more storage locations—see Configuring Locations. - In the Grooming Location section, select the storage location to which the archived data will be moved.
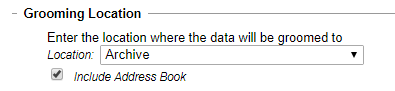
- To include any archived personal address book data from the source storage location, select the Include Address Book option.
- To update the item count in IPRO Search, select the Count Items for Display option.

- In the Retention Criteria section, do the following:
- Select the Apply Retention Flag option to apply a flag to messages archived in IPRO, indicating the period that the archives should be retained.
- Set the number of days corresponding to the retention criteria you established. These flags will be used in conjunction with Archive Lifecycle deletion jobs. Enter the number of days the retention flag will apply.
- If the retention flag was set on the source date, it will be reset to the number of days you specify here.
- The retention period is indicated by the number days. For example, five years is expressed as 1,825 days.

-
NOTE
Retention flags can simplify archive deletion. Therefore, if you have general retention periods for your email data, it is recommended that you use the retention flag feature. However, you are not locked in to that retention period. If your organizational retention policy changes, ARCHIVE allows you to override the retention flag and delete archived items based on your new retention period. - To keep an existing retention date that was set on the source data (typically by an Archive job), select the Maintain Current Retention Value option.
- To comply with regulatory and best-practices records-retention requirements, select the Enable Non-Erasable Format option to create non-rewritable, non-erasable WORM volumes on NetApp, NearStore, and FAS storage systems. This prevents critical files from being altered or deleted until a specified retention date has been reached.
- When used in conjunction with these storage systems, the files are tamper-proof and non-erasable until the retention date has been reached.
- If you want to overwrite any existing matching items in the target location, select the Overwrite Existing Archives option.

- To process only the accounts that did not process correctly the last time, select the Process Failed Accounts option.

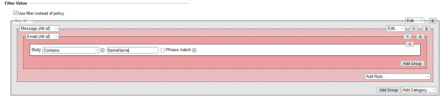
- In Filter Value, you can refine the scope of your Archive Lifecycle Job by using the Advanced Search query builder. Enable the Use filter instead of policy option to replace a legacy policy with filter criteria specified in the query builder—see Advanced Search. The filter criteria assigned to the Archive Lifecycle Job will span across all location types included in the job scope.
-
IMPORTANT After saving the criteria selected in Filter Value, a previously applied, legacy policy will no longer be in use.
- Click Save.