
Upload Data via Self-Service
There are two options available for uploading data via Self-Service:
|
Option |
description |
|---|---|
|
Upload data for later |
The user may upload data, and a delivery record for this data will be created in Media Manager; however this data will not process automatically into Review. |
|
Upload & process data |
The user may upload data to process directly into Review. With this option, data streams through OPEN DISCOVERY, which automatically extracts files, metadata and text, performs OCR, and filters out unwanted documents. The processed files are then automatically loaded into Review. |
These options are dependent on Self-Service permissions assigned at the group level by OPEN DISCOVERY administrators. See Manage Users and Groups for details.
|
|
Prior to creating a Self-Service upload, you must have created a Processing Case. See Create a New Case in OPEN DISCOVERY for details. |
Upload Data for Processing Later
Self-Service allows you to upload and save data to be processed and imported into review at a later time.
For a visual overview, click the video below.
To upload a file for processing later:
-
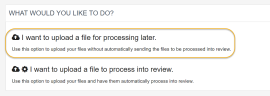
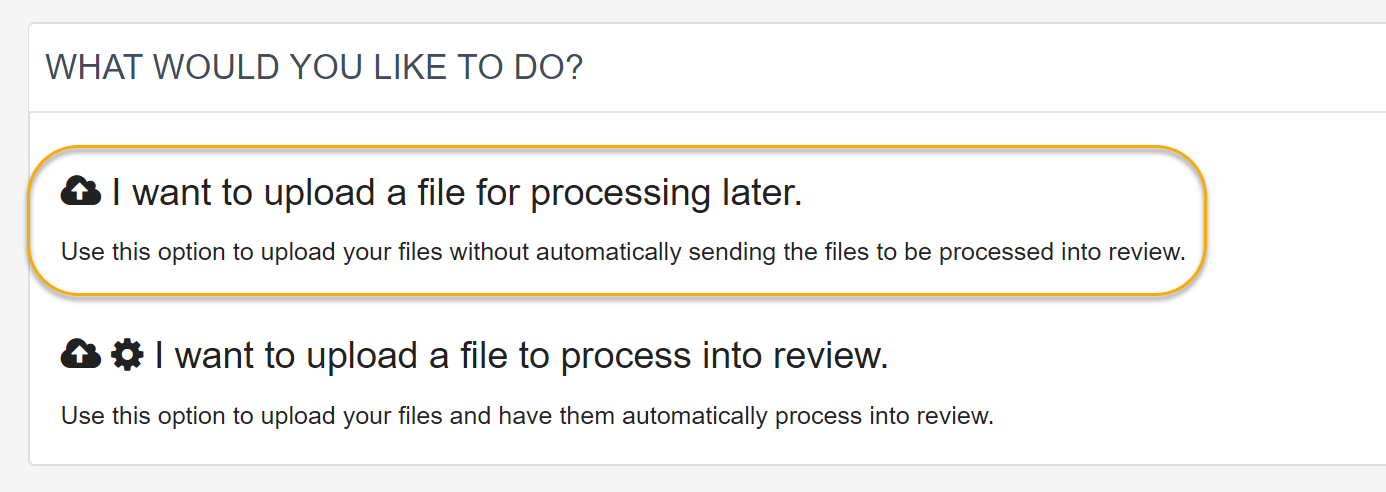
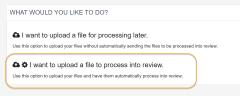
On the Self-Service page, click I want to upload a file for processing later.
-
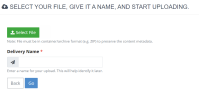
Click Select File.
-
Select the file you want to upload and click Open.
- If needed, change the Delivery Name to assist with future identification. By default, the file name is entered as the Delivery Name. For Media Manager administrators, this is the name used on the Deliveries tab.
-
Click Go.

Note: The file is uploaded to a network location that is defined in OPEN DISCOVERY Environment settings (see Manage OPEN DISCOVERY Environment Settings for more details). Files uploaded by this method are logged on the Media Manager Deliveries tab so that they can be fully processed when needed.
- Wait
as the file is uploaded.
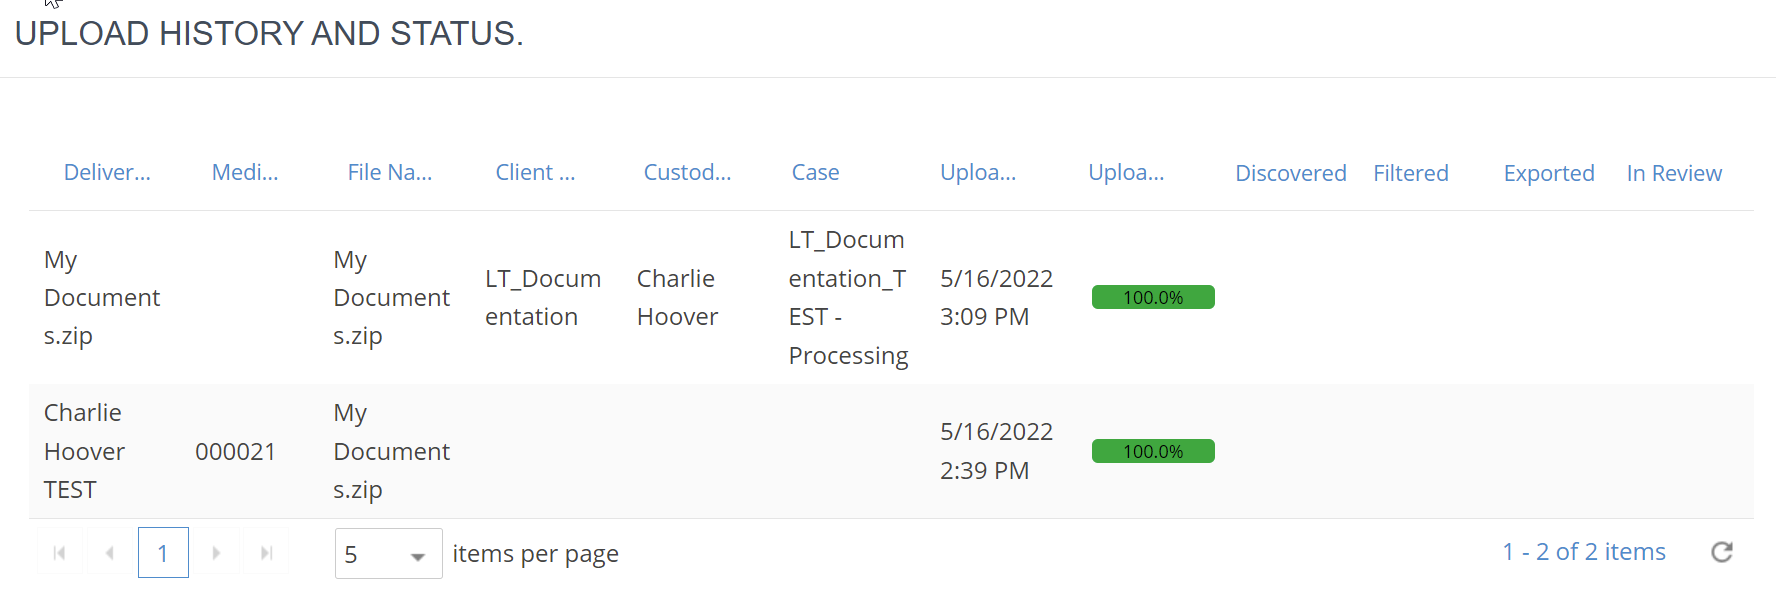
- Job progress is shown in the Upload Status area at the bottom of the page.
The Upload history and status area shows all upload activity for the current user. See View Upload History and Status for more information.

- Optional: For larger files and/or slower network speeds, pause or cancel the job if needed. See Self-Service FAQs.
- When the processing is completed, repeat these steps to upload other files, if needed.
- Communicate upload information to appropriate personnel.

Upload Data for Processing into Review
By uploading to process into review, you can upload data to your infrastructure, a service provider, or the OPEN DISCOVERY platform. By utilizing templates, uploaded data automatically begins the process of extraction, filtering, and loading directly into Review and is tracked throughout the process.
For a visual overview, click the video below.
To upload a file for processing into review:
-
On the Self-Service page, click I want to upload a file to process into review.
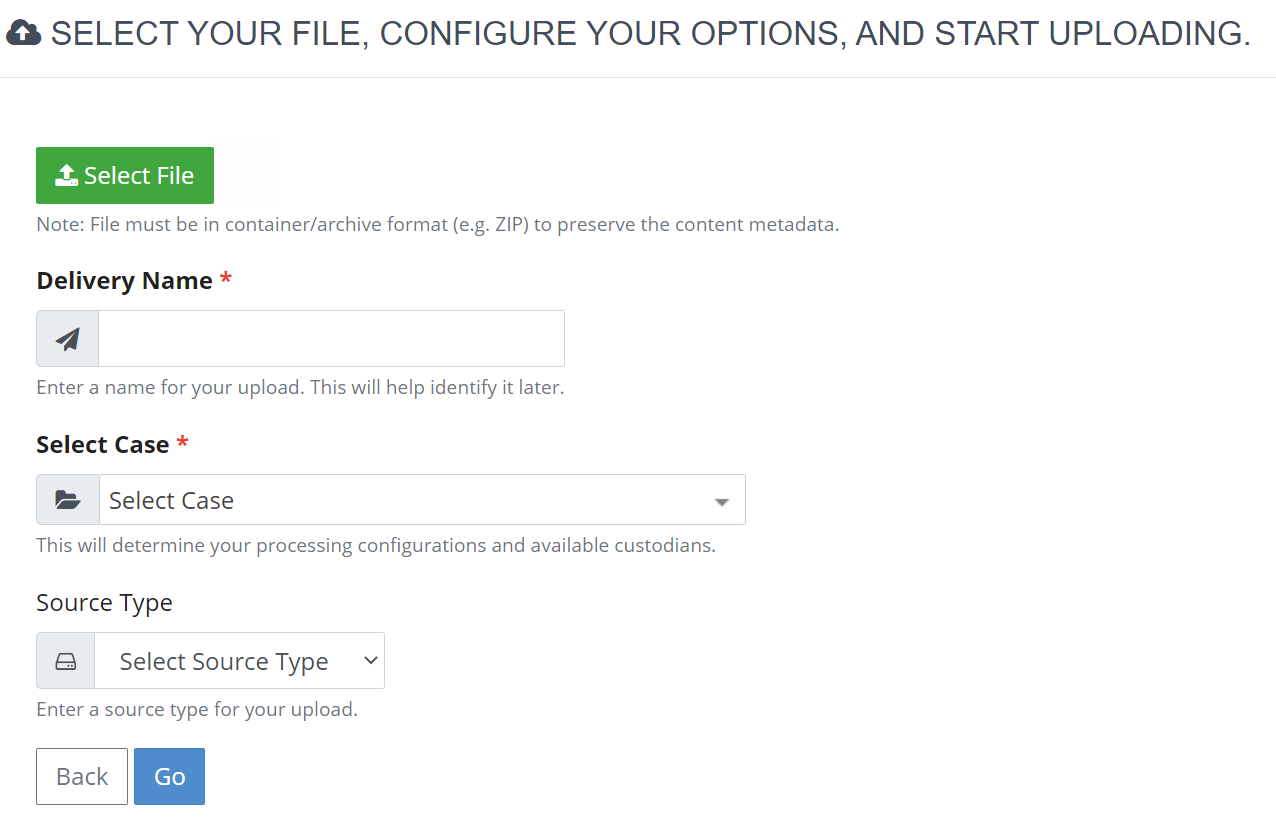
- Click Select File.
- Select the file you want to upload and click Open.
- Complete the upload definition fields.
-
When you are finished completing fields, click Go.
-
If you created a new custodian(s), click OK in response to the resulting confirmation message.
-
Wait as the file is uploaded. Job progress is shown in the Upload Status area at the bottom of the page. The Upload history and status area shows all upload activity for the current user. See View Upload History and Status.
-
Optional: For larger files and/or slower network speeds, you can pause or cancel the job if needed. See Self-Service FAQs.
-
When the processing is completed, repeat these steps to upload other files, if needed.
-
Communicate upload information to appropriate personnel.

![]() Click to view field descriptions
Click to view field descriptions


 .
.
Related Topics