Print a Document
You can print documents from the Documents Explorer, Document Work Area, and Workbooks Explorer.
Documents Explorer
To print a document from the Documents Explorer, follow the steps below:
-
From the dashboard, click the Presentation module.

-
Click the EVIDENCE tab in the left navigation panel.

-
Open the needed case by double-clicking the case name in the Cases table. Alternatively, you can select the appropriate case name, then click the Open Case button in the ribbon bar above the table.

-
Open the Documents Explorer by selecting the Documents tab in the top-left corner of the page.

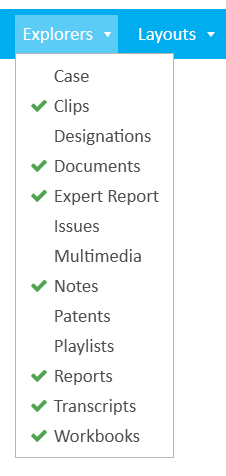
If the explorer is hidden, you can use the Explorers dropdown in the main menu to view it.

-
Select a document in the Documents Explorer.
-
Right click on the selected document.
-
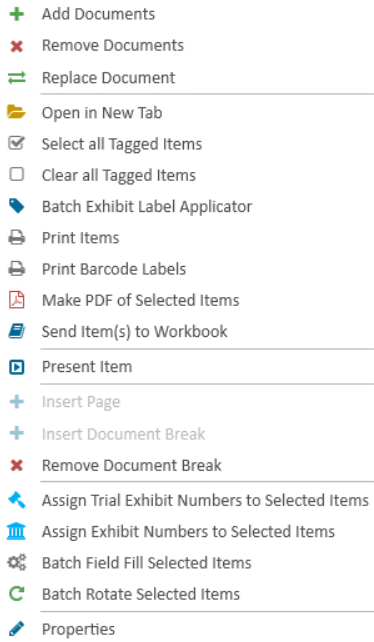
Click the Print Items button. The Print Documents wizard appears.
-
Proceed through each step in the wizard. For more information, see Complete the Print Documents Wizard.


The context menu appears.

|
Note: Press CTRL+P to launch the Print Documents wizard. |

Documents Work Area
To print a document from the Document Work Area, follow the steps below:
-
From the dashboard, click the Presentation module.
-
Click the EVIDENCE tab in the left navigation panel.
-
Open the needed case by double-clicking the case name in the Cases table. Alternatively, you can select the appropriate case name, then click the Open Case button in the ribbon bar above the table.
-
Open the Documents Explorer by selecting the Documents tab in the top-left corner of the page.
If the explorer is hidden, you can use the Explorers dropdown in the main menu to view it.
-
In the Documents Explorer, locate the needed document. Open the Document Work Area by double-clicking on the appropriate document, or by selecting it and clicking the Open Item button in the Explorer ribbon bar.

The Document Work Area opens.
- Click Print Page in the Document Work Area ribbon bar.
-
Proceed through each step in the wizard. For more information, see Complete the Print Documents Wizard.

The Print Document Wizard appears.
|
|
Note: Press CTRL+P to launch the Print Documents wizard. |
Workbooks Explorer
To print a document from the Workbooks Explorer, follow the steps below:
-
From the dashboard, click the Presentation module.
-
Click the EVIDENCE tab in the left navigation panel.
-
Open the needed case by double-clicking the case name in the Cases table. Alternatively, you can select the appropriate case name, then click the Open Case button in the ribbon bar above the table.
-
Open the Workbooks Explorer.
-
Right-click on the selected workbook. The context menu appears.

-
Select Print Workbook Items. The Print Document wizard appears.
-
Proceed through each step in the wizard. For more information, see Complete the Print Documents Wizard.

If the explorer is hidden, you can use the Explorers dropdown in the main menu to view it.

|
|
Note: If you would like to print items from multiple workbooks, CTRL+Click all needed workbooks, then right-click any of them to open the context menu. |
Print Workbook Outline
If it is not necessary to print the entire workbook, you can select Print Workbook Outline.
-
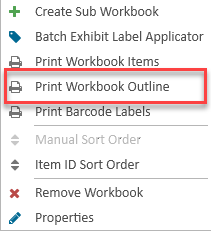
Right-click on the selected workbook. The context menu appears.

-
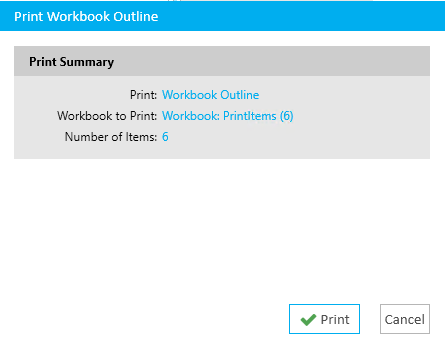
Select Print Workbook Outline. The Print Summary appears.

-
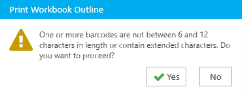
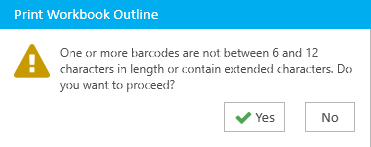
Click Print. You will get a message if there are any Barcode discrepancies. Click Yes to proceed.
-
A processing indicator will appear.

-
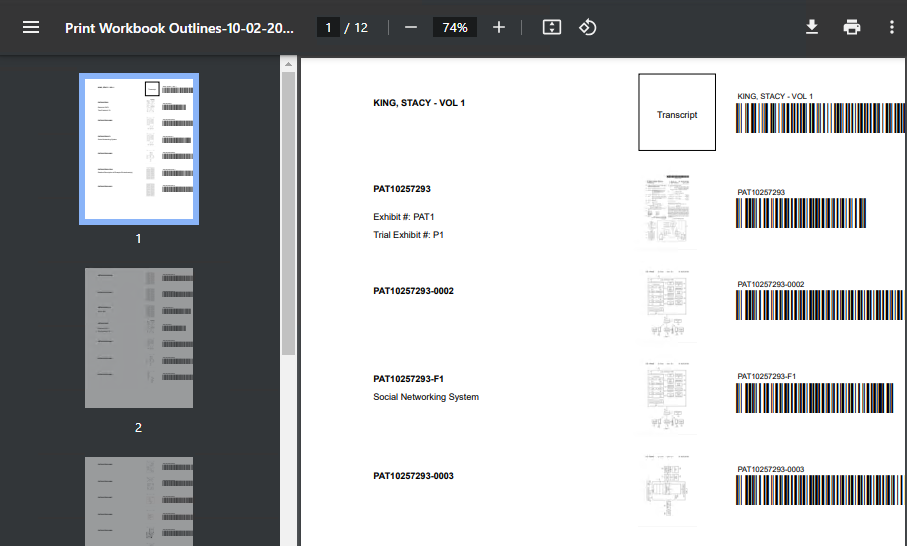
The Outline will include ID number, document type, thumbnail image and Barcode. It can be downloaded or printed.

Complete the Print Documents Wizard
Launch the Print Documents wizard from the Documents Explorer, Document Work Area, or Workbooks Explorer by reviewing the instructions above. When you have opened the wizard, proceed with the following steps:
-
The Print Documents wizard appears. Ensure the Images/Pages option is selected, then click Next.
-
Select the needed Print Range. Note that the items you selected to print determine what options are available on this step. Click Next.

-
Select the Print Options.

-
Click Next.
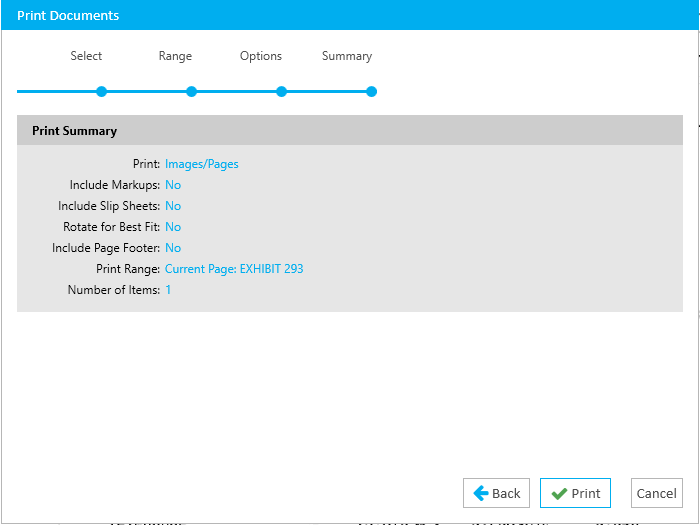
- Review the Print Summary.
-
Click Print.
-
Select system options and click the Print icon button
 .
.


|
|
Note: When the Print with Page Footer option is checked, any barcodes that are included in the footer will be subject to barcode technology standards. It is recommended for a barcode to be read reliably that the Page Id is between 6 and 12 characters in length and does not contain extended characters. |
The Print Preview dialog appears.
Related Topics
Version: 2023.8.12
Last Revision: 11/8/2023