Use Screen Snapshot and Grab Screen Commands
Use the Screen Snapshot tool or the Grab Screen (-GS) command to capture a static image of the entire Presentation display. The new image is automatically associated with the item that is active at the time of capture. It appears in the Workbooks Explorer.
This feature is helpful when you need to save an exhibit marked up during trial by a witness as a new exhibit, or if you want to use it as part of another presentation or PowerPoint project. However, if you want to save the dynamic layout of your presentation (and walk back through the annotations using the Undo and Redo tools), use the Save Stage feature instead.
Follow the steps below to capture the Presentation display:
-
On the Presentation Toolbar, open the Application Tools

-
Click the Screen Snapshot tool

-
Type -GS
-
Press ENTER
-or-

|
Note: See Edit Workbook Item Properties for details on how to edit Screen Snapshot properties. |
Export Snapshots
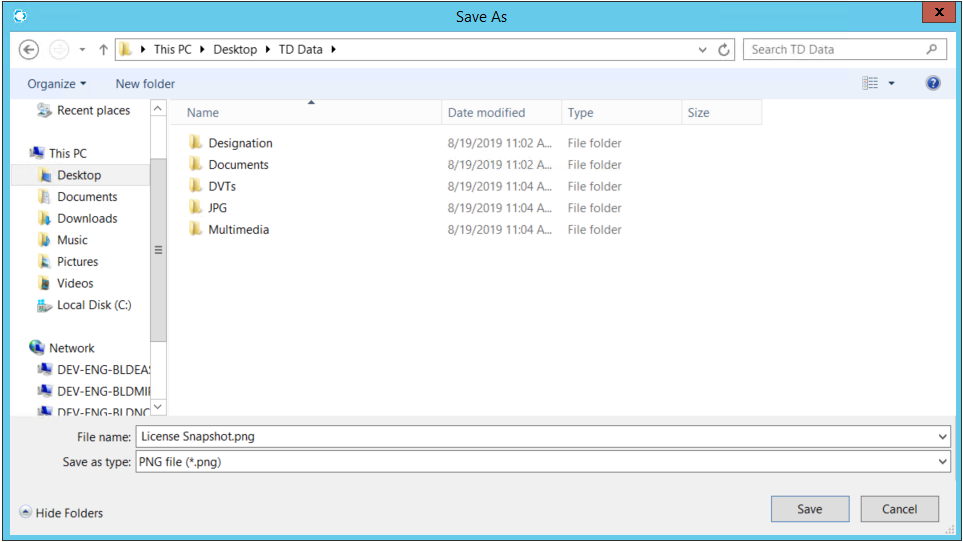
You are able to export Snapshots as PNG files to a user-defined location. To export a Screen Snapshot, complete the following steps:
-
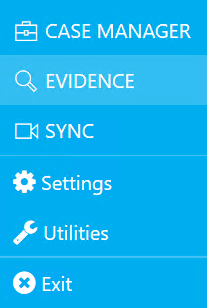
From the TRIAL DIRECTOR main menu, select EVIDENCE on the left navigation panel.

- Double-click on the case that contains the needed Screen Snapshot.
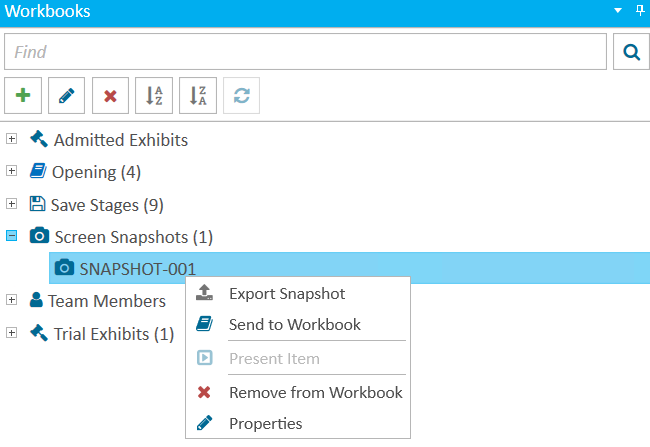
- In the Workbooks Explorer, open the Screen Snapshot folder.
-
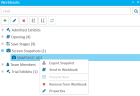
Right-click the Screen Snapshot that you want to edit.
A file explorer window appears.
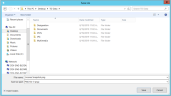
- In the File Name field, type the name of the Screen Snapshot, as necessary.
-
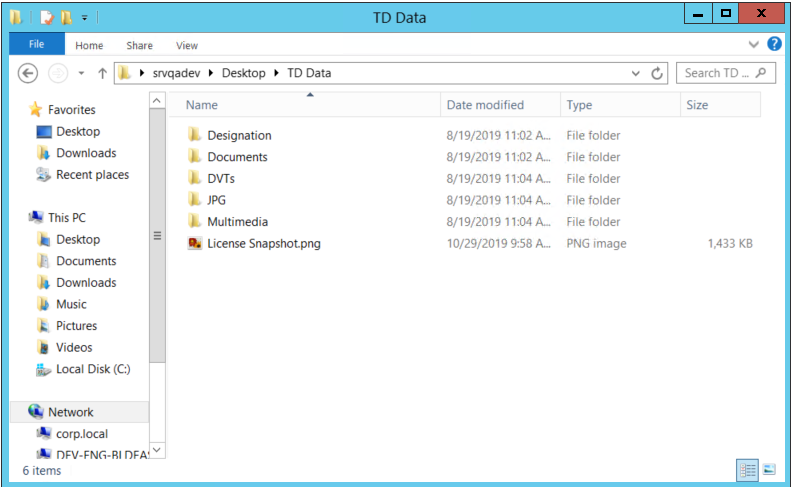
When finished, click Save. The saved Snapshot file is displayed in the user-defined location.

Print Snapshots
You can use a standard workbook in EVIDENCE to print snapshots from the Workbooks Explorer. To print a snapshot, complete the following steps:
-
From the TRIAL DIRECTOR main menu, select EVIDENCE on the left navigation panel.
-
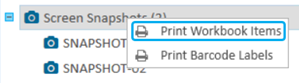
In the Workbooks Explorer, right-click on the Screen Snapshot folder.
-
Select Print Workbook Items.

-
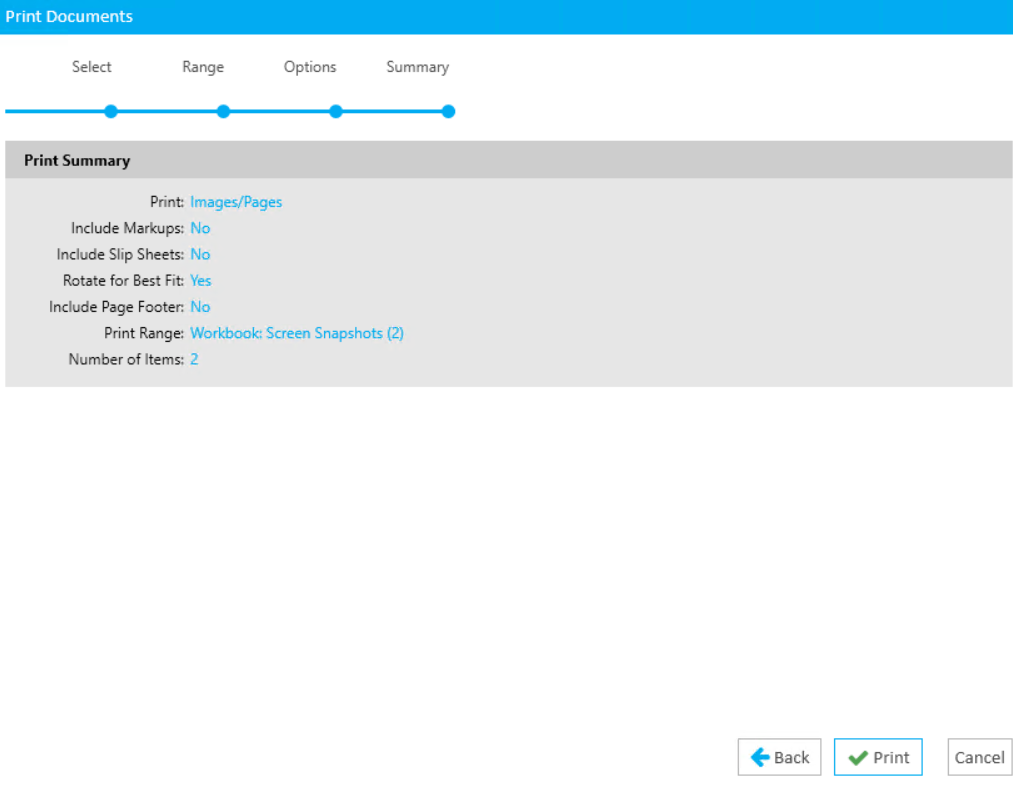
The Print Documents wizard appears.
-
Proceed through each step in the wizard.
-
Review the Print Summary.
-
Click Print.
The PrintPreview dialog appears.
-
Select system options and click the Print icon button
 .
.
Related Topics
Version: 2023.8.12
Last Revision: 11/8/2023