Add Notes to a Document
You can apply notes to documents using the Add Note dialog.
To add a note to a document, follow the steps below:
-
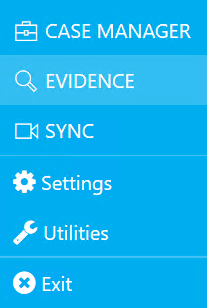
Click the EVIDENCE tab in the left navigation panel.

-
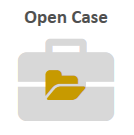
Open the needed case by double-clicking the case name in the Cases table. Alternatively, you can select the appropriate case name, then click the Open Case button in the ribbon bar above the table.

-
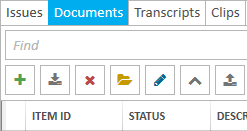
Open the Documents Explorer by selecting the Documents tab in the top-left corner of the page.

If the explorer is hidden, you can use the Explorers dropdown in the main menu to view it.

-
In the Documents Explorer, locate the needed document. Open the Document Work Area by double-clicking on the appropriate document, or by selecting it and clicking the Open Item button in the Explorer ribbon bar.

The Document Work Area opens.
-
Click the Notes button in the Document Work Area ribbon bar.
-
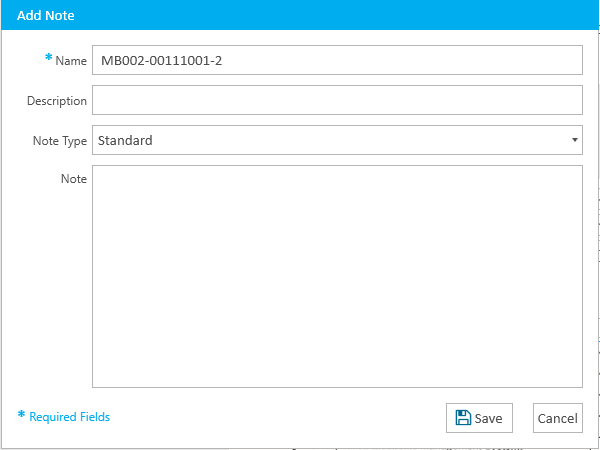
Fill in the information for the note.
-
Name - The name of the note.
-
Description - A short explanation of the note.
-
Note Type - A selection from the type of notes available. Choose the type you feel appropriate.
-
Note - The actual note you want to apply to the document.
-
Click the Save button.


The Add Note dialog appears.
Fields in the dialog include:
With the information filled, you can move on to the next step.


|
Note: You can view any notes applied to the document in the Details panel and the Notes Explorer. |
Related Topics
Version: 2023.8.12
Last Revision: 11/8/2023