Deploying the Servers
Assuming that you have all the resources specified in Prerequisites, the next step is to deploy the archive and index servers.
|
Server |
Description |
|
CentOS |
Hosts the SOLR indexing compoment. |
| Windows OS | Hosts the archiving services. Hosts the client web interface used by the end user or managers to search the contents, also known as the remote provider. |
At a minimum, a single-tenant requires one (1) archive server and one (1) index server but may require more depending on the size and types of data being archived (Microsoft SharePoint, Microsoft OneDrive, Citrix FileShare, and so on.) In the steps below, you have the option to deploy multiple servers.
The following steps pertain to deploying servers for a single-tenant solution using a template.
In a single-tenant scenario, configuring servers occurs in a separate step.
BYOL stands for Bring Your Own License.
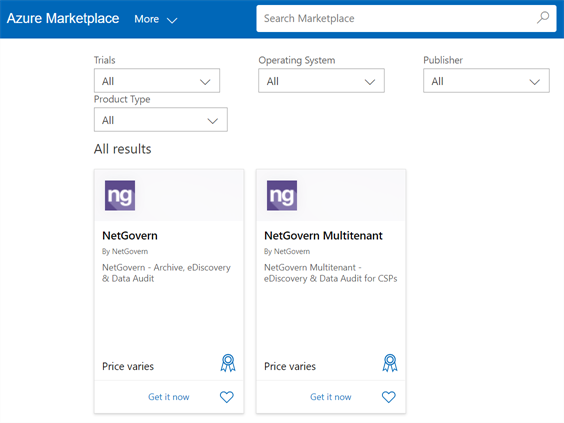
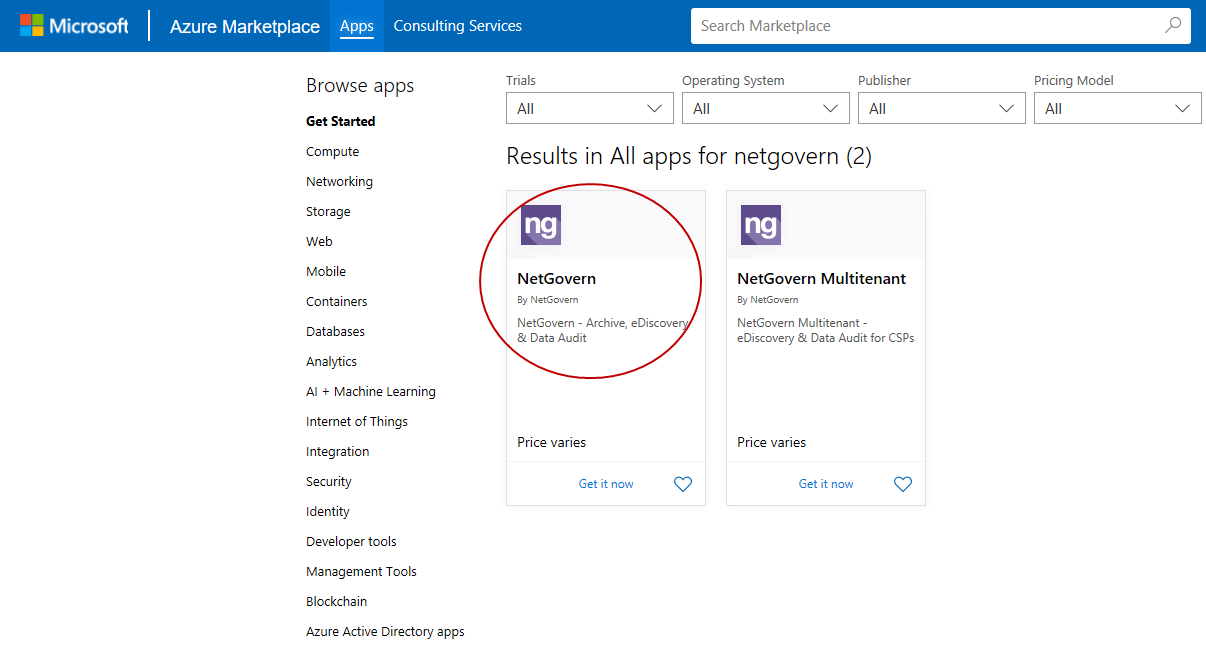
- Navigate to the Azure Marketplace and search for NetGovern.
-
IMPORTANT
In Azure Marketplace, you can find ARCHIVE products by searching for NetGovern.
- Select NetGovern and click Get It Now.

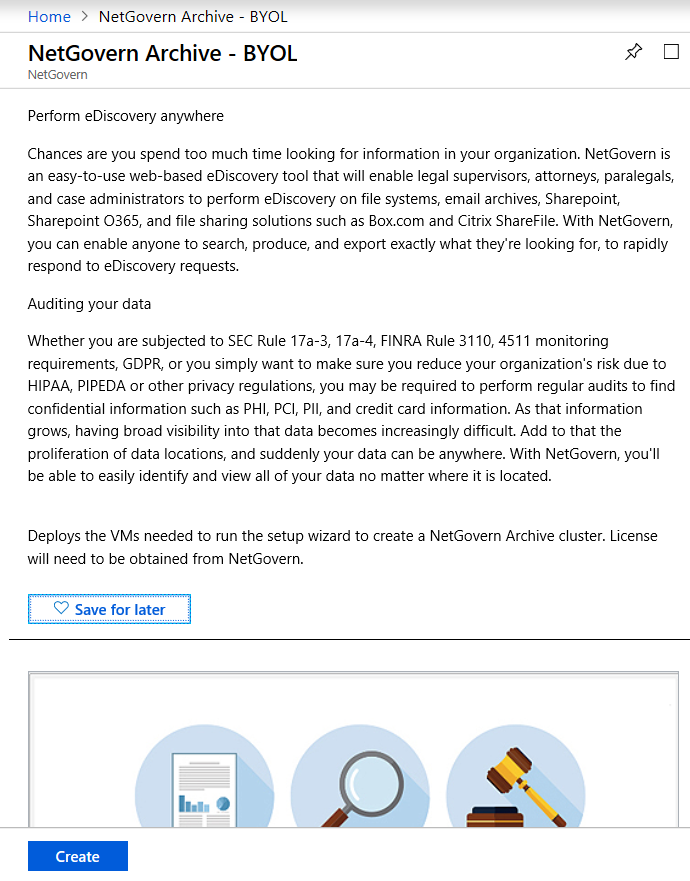
- Fill in the required contact info and click Continue.
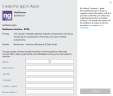
- On the Microsoft Azure Portal page, click Create.

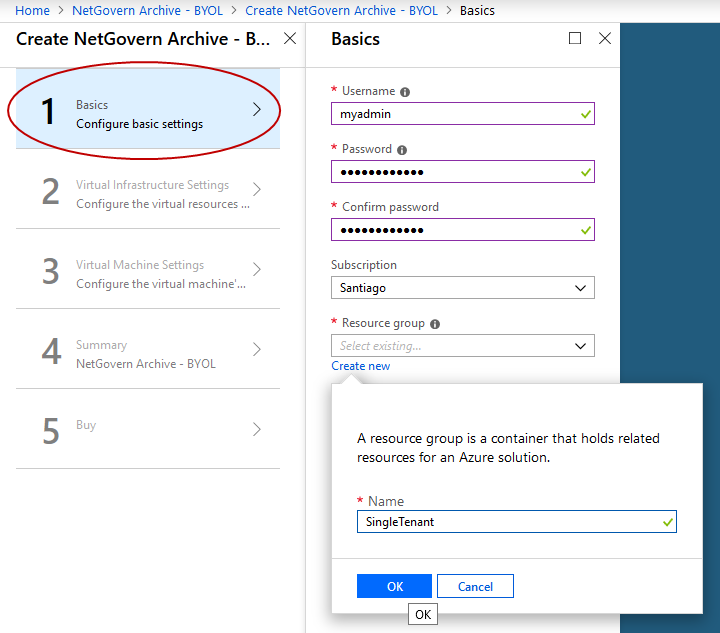
- In Basics, configure basic settings.

- Username and Password: The username and password that will be used for all VMs deployed using this solution template.
- Subscription: The default subscription automatically populates.
- Resource Group: Select the resource group you created during the prerequisites stage—see Resource Group.
- Location: The location automatically sets after you have selected the resource group.
- In Virtual Infrastructure Settings, define a new or existing network.
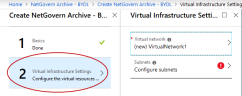
- Subnet Name: Enter the subnet name and address prefix that you have previously created—see Subnet.
- In Virtual Machine Settings, define the number of VMs, the server size, and the OS disk type.

- Base Name of Index VMs: Name the Index VMs.
- Index OS Disk Type: Standard HDD appears as the default.
- Number of Index VMs: Select the number of VMs you wish to deploy.
-
NOTE
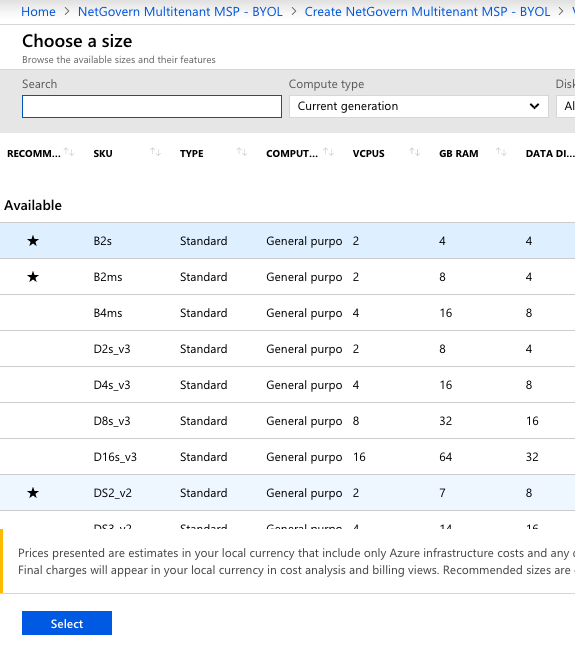
After this step is completed, you will still be able to add index servers, but not through the Azure Marketplace. To add archive server after the fact, see Deploying the Master Server. To add a worker server after the fact Deploying the Worker Server. - Index VM Size: The default server is a B2S. You can choose a different size after deploying the shared infrastructure.

-
IMPORTANT
A B2S server is sufficient for a demo or test environment. However, it is not recommended for a production environment, where more power is required. For considerations regarding sizing requirements, see Virtual Machine Size. - Base Name of Archive VMs: Name the Archive VMs.
- Archive OS Disk Type: Standard HDD appears as the default.
- Number of Archive VMs: Select the number of VMs you wish to deploy.
- Archive VM Size: The default server is a B2S. You can choose a different size after deploying the shared infrastructure.
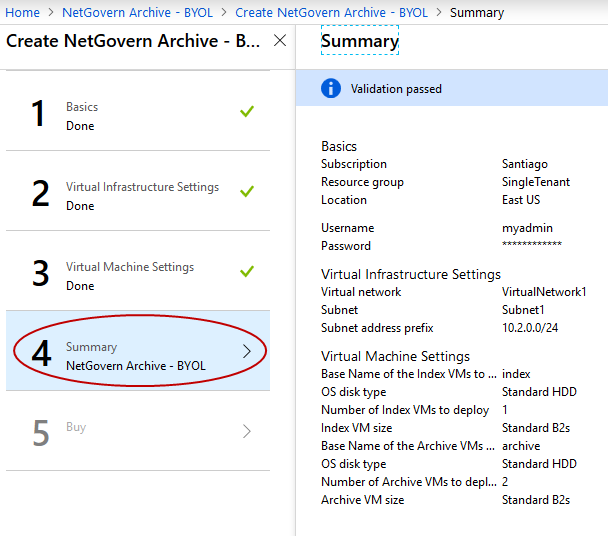
- In Summary, validate your settings.

- In Buy, click Create.
-
NOTE
For information on costs, consult your Microsoft representative or the Azure pricing calculator. 
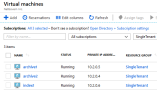
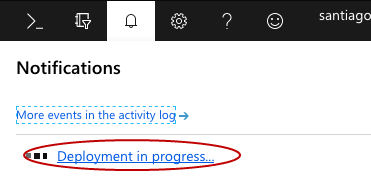
- Click Notifications to view the deployment progress.


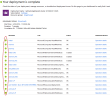
- The servers are ready for configuration.