Deploying the Master Server
Now that you have deployed the shared infrastructure, you are ready to deploy the master server. Be sure to leave the pod deployment tab open, since you will need information related to shared infrastructure when deploying the master server.
NOTE
The terms "impersonation rights" and "proxy rights" are used interchangeably.
The terms "impersonation rights" and "proxy rights" are used interchangeably.
To deploy additional master servers, repeat all of the steps above, giving each new server a unique identifier. At a minimum, a hosted client requires a single master server, but more may be required—see Servers.
- Navigate to the Master Server Deployment page.

- Click Deploy to Azure.
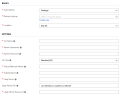
- Fill in the required fields.
- Subscripton: The default subscription automatically populates..
- Resource Group: Select the resource group you created during the prerequisites stage—see Resource Group.
- Location: The location automatically sets after you have selected the resource group.
- VM Name: Set the name of the master virtual machine.
- Admin Username: Create a username. This account will become the administrator of the master server.
- Admin Password: Use the master password you created during pod deployment.
- VM size: The default server is a B2S. You can choose other sizing requirements after deploying the shared infrastructure.
-
IMPORTANT
A B2S server is sufficient for a demo or test environment. However, it is not recommended for a production environment, where more power is required. For considerations regarding sizing requirements, see Virtual Machine Size. - Virtual Network Name: Enter the virtual network name that you have previously created—see Virtual Network.
- Subnet Name: Enter the subnet name and address prefix that you have previously created—see Subnet.
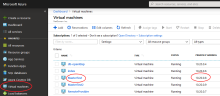
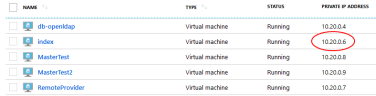
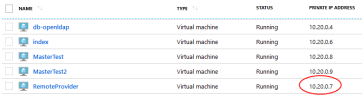
- LDAP Server: Enter the private LDAP IP that was assigned during pod deployment. To find the IP, go to the Microsoft Azure site and click Virtual Machines in the left pane.
-
IMPORTANT
You must use the priviate IP address, not the public one. - LDAP Admin DN: This IP appears automatically and should not be changed.
- LDAP Admin Password: Enter your master password.
- Zookeeper IP: This is the private IP of the index server. To find the IP, go to the Microsoft Azure site and click Virtual Machines in the left pane.
- Postgres SQL: The Postgres database is installed on the LDAP server. Copy the LDAP Admin DN Password you created in a step above.
- Postgres Port: 5432: This appears automatically and should not be changed.
- Postgres Admin User: This appears automatically and should not be changed.
- Postgres Admin Password: Enter the master password.
- Tenant ID: Enter the Tenant ID provided with your Microsoft Azure subscription.
- Password: Create a new password.
- O365 User: Enter an Office 365 account with impersonation rights—see Configuration and IPRO Search.
- O365 Password: Enter the password for the Office 365 account above.
- SMTP Server: Enter the IP of the SMTP server you have previously created.
- Remote Provider IP Address: To find the IP, go to the Microsoft Azure site and click Virtual Machines in the left pane.
- Remote Provider Admin User: Enter the OS Admin User you created during pod deployment—see Deploying the Shared Infrastructure.
- Remote Provider Password: Enter the master password.

- Read the Microsoft Azure Terms and Conditions and click Agree.
- Click Purchase to deploy the VMs. A message validation message displays.
-
NOTE
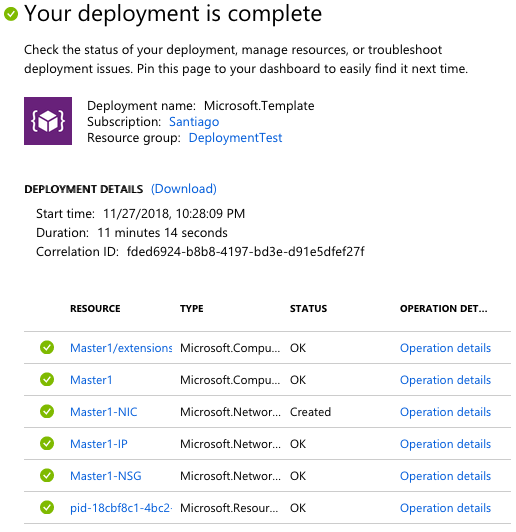
For information on what you are purchasing or the Azure pricing calculator, consult your Microsoft representative. - To monitor deployment progress, go to Notifications > Deployments in Progress and view the various status indicators.