Configuring Egnyte Connector
To include data from Egnyte in your IPRO , configure the connector and create a Live Location in the IPRO Admin UI. Next, ensure all users are mapped by performing User Mapping. Complete the configuration process by creating Indexing and Archiving jobs to crawl and archive the source data.
Indexing is required to make data searchable. If you intend to search archived data, indexing must be performed. You can set up and run a File Indexing job prior to archiving, or configure a File Archiving job allowing for simultaneous indexing—see Configuring File Indexing and Configuring File Archiving.
When set up is complete, indexed and archived Egnyte content can be viewed, searched, and exported from IPRO Search.
First, you must complete the prerequisites for configuring the Egnyte connector in IPRO. You can contact your Support Representative for further details on the connector features, system requirements, and pre-configuration process.
Perform the following steps in the IPRO Admin UI. Administrator rights are required.
- Log into the IPRO Admin UI.
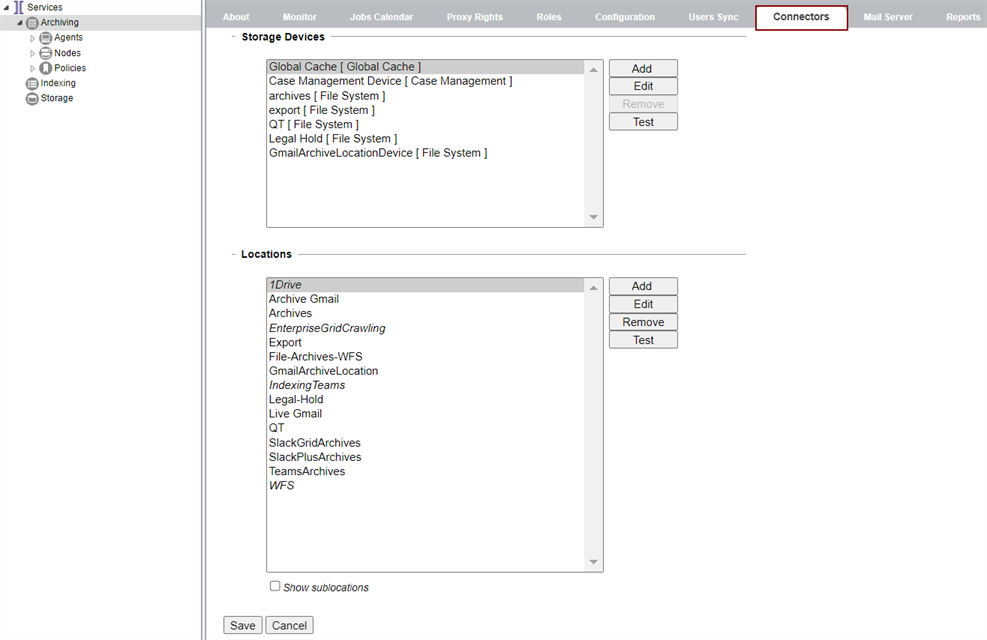
- Select Archiving.
- Open the Connectors tab.

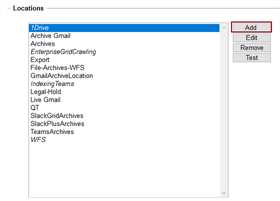
- Navigate to the Locations section. Click Add.
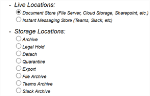
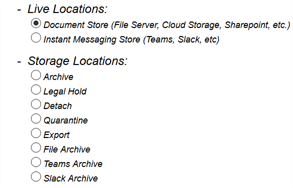
- Click on Live Locations to expand, select Document Store.
- Click Next.
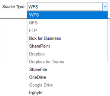
- Select Egnyte as the Source Type.
- Click Next.
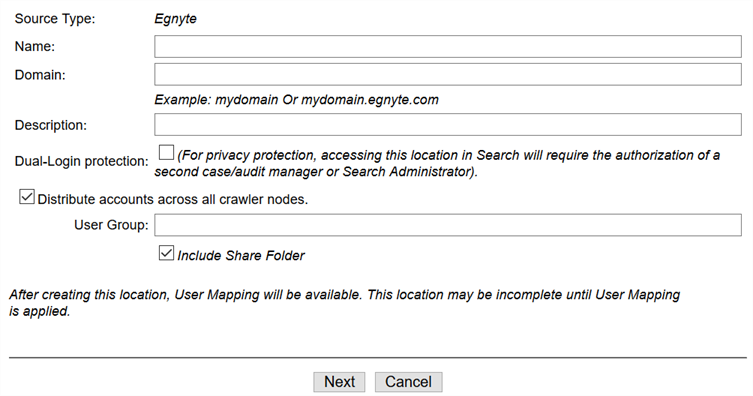
- The Document Store Location window displays.
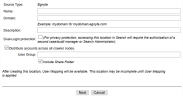
- In the Name field, enter a name that is meaningful to the users and reviewers who will be accessing the data. Include the term "Connector" in the name entered.
-
IMPORTANT
To change a location name, a new location must be created and its data must be reindexed. - In the Domain field, enter your Egnyte domain.
- In the Description field, enter a relevant description.
- (Optional) Enable Dual-Login protection to ensure that access to this location in a IPRO Search will require the authorization of a second manager or Administrator.
- (Optional) Enable Distribute accounts across all crawler nodes. This is checked by default for a better balancing of the indexing workload.
- (Optional) Enter the User Group. The User Group setting allows you to carve out a subset of account members from the configured AD group.
-
IMPORTANT
Once the data is indexed, it will not be possible to exclude content from certain AD users. If you want to control which users' data is indexed you can create user sub groups. A separate index location must be created for each group. - Click Next.
- The Egnyte redirect opens.
- Read the Terms of Service and Privacy Policy in the links provided.
- To grant permissions to the application, grant access.
- When finished, click Save at the bottom-left of the Connectors tab.

Following connector and location configuration, perform User Mapping. For more information—see User Mapping. For detailed steps—see Configuring User Mapping
Next, configure File Indexing and File Archiving jobs to process the source data—see Configuring File Indexing and Configuring File Archiving.