Configuring Storage
During storage configuration, you will set up your archive storage on the server. If you will be using Federated Search to crawl Windows File Shares (WFS), Microsoft SharePoint, Box, or other locations, you will need to later add a second archive node to your existing cluster—see Adding an Archive Node.
NOTE
If you know that you will have a second archive node, this affects the choices you make in this storage configuration step—see Architecture Overview for a deeper discussion on the reasons behind setting up a cluster, the relationship between Master and Worker servers, and the decisions involved in setting them up.
If you know that you will have a second archive node, this affects the choices you make in this storage configuration step—see Architecture Overview for a deeper discussion on the reasons behind setting up a cluster, the relationship between Master and Worker servers, and the decisions involved in setting them up.
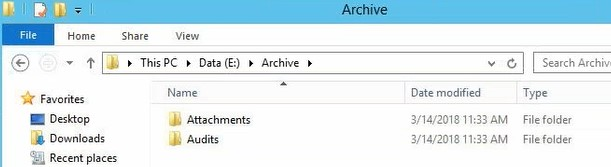
- In the wizard, create a directory and subdirectories. The naming of the folders may be guided by the Information Governance policy in place at your organization, and depending on what storage devices may be shared between various locations. Otherwise, the setup wizard creates certain folders for you.
- Create these folders manually: Attachments and Audits.
- ARCHIVE automatically creates the Mail and Case Management folders.

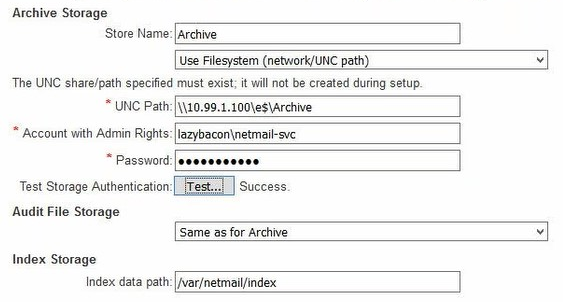
- Return to Storage Configuration > Archive Storage.
- If you have purchased IPRO Archive Store licenses, select Use NetGovern Store to archive mail
- If you have not purchased IPRO Archive Store licenses, select one of the following options:
- Use Filesystem (local drive) to deploy a single node archive server and store the data locally.
- Use Filesystem (network/UNC path) to deploy a multi-node server and store the data remotely (for example, to crawl multiple on-premise and cloud locations using Federated Search).
- NOTE
Selecting the last option does not deploy the additional worker nodes. That is covered in a step documented further in this guide.
- If you selected the Use Filesystem (network/UNC path) option, you must have already created a share as part of pre-deployment tasks.
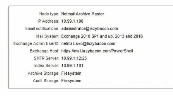
- Enter the service account you have already created.
- Enter Admin password.
- Click Test.
- If successful, you will see the message “Success”.
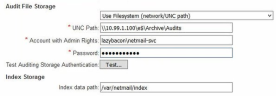
- For the Audit File Storage, enter the same information as you did for Archive Storage. The only exception is that you will add \Audits at the end of the UNC path name.
-
Use the default index data path and click Next.
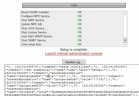
- A summary page of the information you entered is displayed. Review the information and click Proceed.
- A progress screen displays with the status of each component as it is being installed.
- Deployment is complete.