
Manage Performance
The Performance Management tool in the Review and Transcripts Module allows for more control by leveraging the capabilities that Stellent provides in creating HTML outputs for native files. HTML is what is used to view these files in near-native formats.
Why Use this Tool?
Before the advent of the Performance Management tool, case documents had been rendered by being (1) optimized as part of a batch when the batch is created or (2) optimized when the document is opened on the fly. In both cases, an HTML output for each document is created. In certain instances this process could take longer, especially for image-intensive files. To mitigate this, the Performance Management tool allows you to pre-render (optimize) documents so that the processing time to convert to HTML does not delay the ability to view documents in near-native formats.
Also, because images are converted to PNG, the Performance Management tool allows you to optimize these images in the Image Viewer.
Optimize Files with Performance Management
-
Log in to OPEN DISCOVERY Review as an administrator.
-
In OPEN DISCOVERY Review, click a case card.

-
Click the
 button. The Visual Search Dashboard appears.
 -
On the left panel, click the Case Settings
 button. The Index Management tab is selected by default. Click the newly added Performance Management tab to open the Optimization Settings screen.
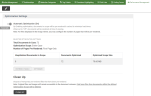
Optimization Settings Screen
The Optimization Settings screen can display in two modes:
-
Automatic Optimization (On), the default display in which automatic optimization is enabled:

Note: Automatic optimization also means that if you import files to the documentation scope after initial optimization, the imported files as they are ingested will also be optimized.
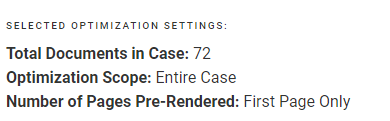
Settings in the Optimization Settings screen are displayed in a list as selected in the Edit Optimization Settings screen. See Edit Optimization Settings.An example of a selected optimization settings list is shown as the following:
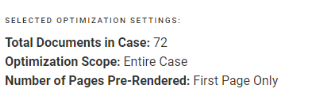
Below this list is a table that identifies how the selected document scope affects the amount of storage being used:

The Documents Optimized can include compressed HTML files, as well as image files.
The Optimized Scope Size displays the total amount of storage required to contain all optimized files within the selected scope.
Clicking the Clean Up
 button allows you to get rid of temporary files that have been pre-rendered.
Note: Original files and images will remain accessible in the document reviewer. Only temporary files from documents within the defined Optimization Scope will be deleted.
-
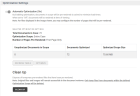
Automatic Optimization (Off), the alternate display in which automatic optimization is disabled:
When automatic optimization is set to “Off”, documents will be rendered at the time they are being viewed. They will also continue to be rendered if the document is part of a batch when the batch is created.
You can determine the mode that is active by setting the desired mode through the Edit Optimization Settings screen as described in the next section.
-


Edit Optimization Settings
-
Toggle between the two optimization modes by clicking the edit
 button to display the Edit Optimization Settings screen, and then turn the optimization switch
  either on (enabled) or off (disabled).
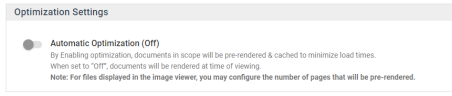
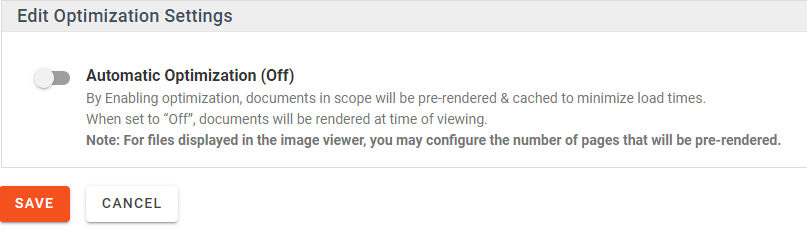
 The following image shows the Edit Optimization Settings screen mode set to Automatic Optimization (On) [enabled]. In this mode, documents in scope are pre-rendered and cached to minimize load times.

The following image shows the Edit Optimization Settings screen mode set to Automatic Optimization (Off) [disabled]. In this mode, documents in scope are rendered as they were before the automatic optimization option became available in release 2022.10.0 (while documents are being viewed in real time, added during review pass creation).
If switching to Automatic Optimization (On), you can click to display the current document scope and
  to manually optimize the documents instead of waiting for automatic optimization.
For either mode, click to save the settings.
 -
With Automatic Optimization (On), the editing screen offers the following additional settings:
Native and Scope Settings
This option defines the scope of documents that will have their Native View and Image View optimized, as applicable. A document can contain a native file, an image, or both. Choose (1) Entire Case, in which all documents will be optimized, or (2) choose Saved Search to target a specific set of documents and select a particular Saved Search option on the activated drop-down menu.
Image Optimization Settings
This option is specific to the scope of documents defined under Native and Scope Settings that contain an image. A temporary cache for the documents are pre-rendered to optimize their display within the Image tab of the Document Viewer. Select one of the following options for image pre-rendering:
-
First Page Only
-
All Pages in Document
-
Custom Number of Pages:
Selecting this option activates a number box whereby you can set the number of pages in which to have images pre-rendered.
 -
None
When completed, click
to save the settings.Related Topics
-

|
|
Note: for files displayed in the Image Viewer, you may configure the number of pages that will be pre-rendered. |