Edit an Issue Type
You can edit an issue type in a case using any of the following methods:
-
Issues Explorer
-
Issues Applicator
- Issue tab in Case Manager
Issues Explorer
To edit an issue type from the Issues Explorer, open a case and follow the steps below:
-
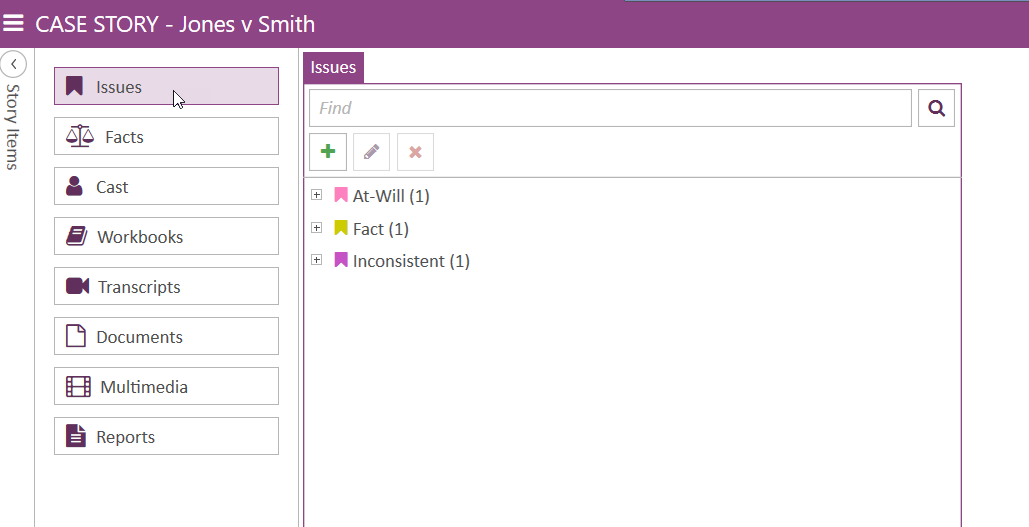
Open the Issues Explorer.
-
Select an issue type in the explorer.
-
Click the Edit button in the explorer.

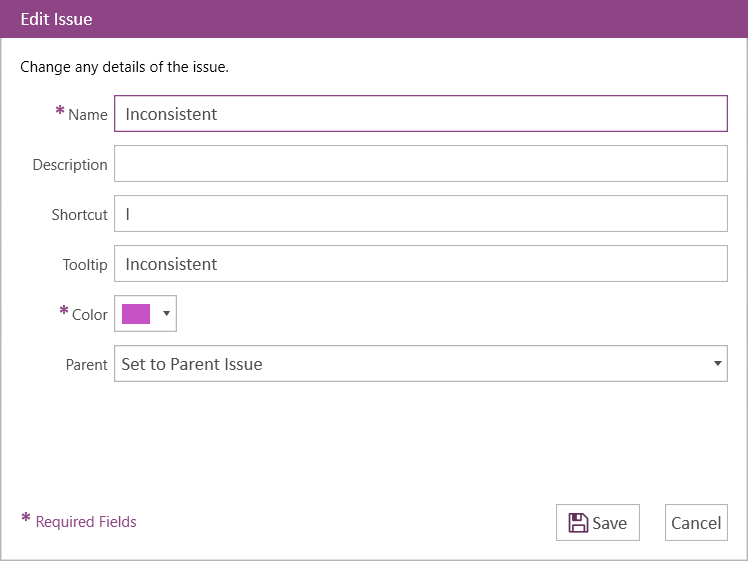
The Edit Issue dialog appears.

-
Update information for the issue.
Make edits to any of the following information in the Edit Issue dialog:
-
Name - The name to identify the issue.
- Description - A short description that briefly explains the issue type.
-
Shortcut - The shortcut keys to apply the issue to a transcript. (See Apply an Issue to a Transcript for more information on this procedure.)
-
Tooltip - A short phrase to help describe the issue or its purpose.
-
Color - The color assigned to help identify the issue when it appears in a list or a transcript.
-
Parent - The issue type can be set as a parent issue (i.e. first-level issue), or set as a sub-issue of another issue type already part of the case.
With the information filled in, you can move on to the next step.
-
-
Click the Save button.
There are two save options for your convenience:
-
Save - Saves the issue, does not close the dialog, and clears the fields so you can create another issue right away.
-
Save & Close - Saves the issue and closes the Add Issue dialog.
When an issue type is added to a case, it appears in the Issues Applicator.
-
Issues Applicator
To add an issue type using the Issues Applicator, open a document or transcript in a case and follow the steps below:
-
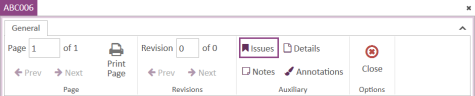
Open a document or transcript via the Documents Explorer or Transcripts Explorer. In the Auxiliary section of the work area ribbon bar, select Issues.
-
Click the Edit button in the applicator.
The Edit Issue dialog appears.
-
Update information for the issue.
Make edits to any of the following information in the Edit Issue dialog:
-
Name - The name to identify the issue.
- Description - A short description that briefly explains the issue type.
-
Shortcut - The shortcut keys to apply the issue to a transcript. (See Apply an Issue to a Transcript for more information on this procedure.)
-
Tooltip - A short phrase to help describe the issue or its purpose.
-
Color - The color assigned to help identify the issue when it appears in a list or a transcript.
-
Click the Save button.
-
Save - Saves the issue, does not close the dialog, and clears the fields so you can create another issue right away.
-
Save & Close - Saves the issue and closes the Add Issue dialog.

The Issues Applicator appears.

With the information filled in, you can move on to the next step.
There are two save options for your convenience:
When an issue type is added to a case, it appears in the Issues Applicator.
Issues tab in Case Manager
To edit an issue type from the Issues tab in Case Manager, follow the steps below:
-
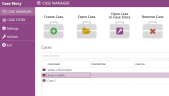
Open Case Story and select the Case Manager tab in the left navigation bar. Double-click on a case in the cases table to open it.
-
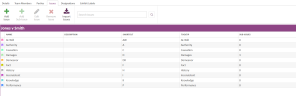
Select the Issues tab in the ribbon bar. The Issues table appears.
-
Click the Edit Issue button.

The Edit Issue dialog appears.
-
Update information for the issue.
Make edits to any of the following information in the Edit Issue dialog:
-
Name - The name to identify the issue.
- Description - A short description that briefly explains the issue type.
-
Shortcut - The shortcut keys to apply the issue to a transcript. (See Apply an Issue to a Transcript for more information on this procedure.)
-
Tooltip - A short phrase to help describe the issue or its purpose.
-
Color - The color assigned to help identify the issue when it appears in a list or a transcript.
-
Parent - The issue type can be set as a parent issue (i.e. first-level issue), or set as a sub-issue of another issue type already part of the case.
With the information filled in, you can move on to the next step.
-
-
Click the Save button.
There are two save options for your convenience:
-
Save - Saves the issue, does not close the dialog, and clears the fields so you can create another issue right away.
-
Save & Close - Saves the issue and closes the Add Issue dialog.
When an issue type is added to a case, it appears in the Issues Applicator.
-


Related Topics
Version: 2023.8.12
Last Revision: 11/8/2023