Export Document Data
You can export document data, including metadata, item information, and referenced documents within the case, from the Documents Explorer.
To export document data, follow the steps below:
-
From the dashboard, click the Fact Management module.

-
Select the Case Story tab in the left navigation panel.

-
Open the needed case by double-clicking the case name in the Cases table. Alternatively, you can select the appropriate case name, then click the Open Case button in the ribbon bar above the table.

-
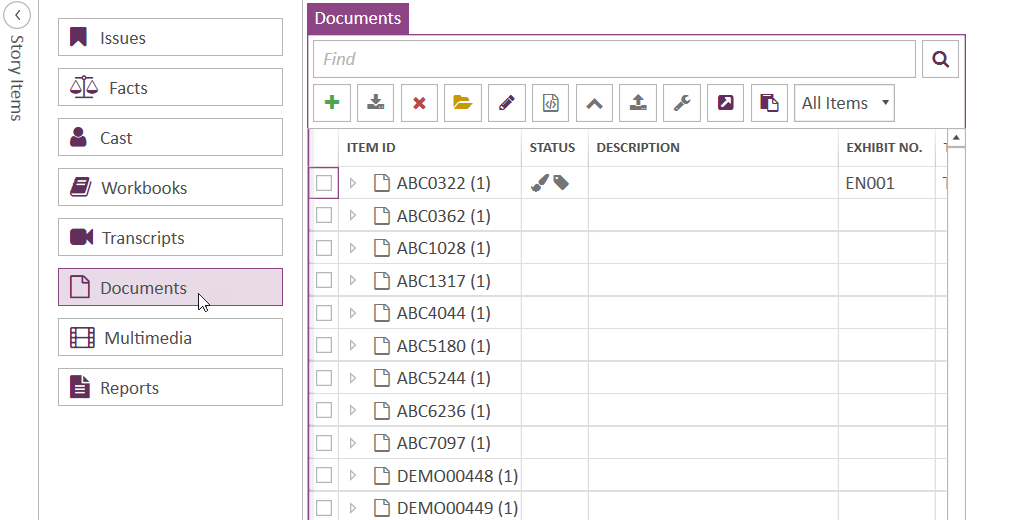
Open the Documents Explorer by selecting the Documents tab on the left side of the page.

-
In the Documents Explorer, click the Export Document Data button.
-
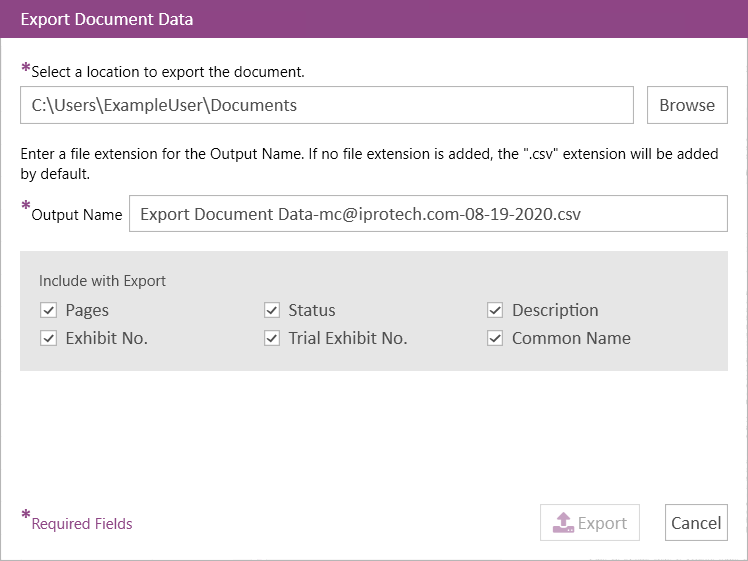
Click the Browse button in the dialog. The Browse for Folder dialog appears.
-
Navigate to the location where you want the export file to be generated.
-
Click the OK button in the Browse for Folder dialog.
-
Select the types of data you want to include in the export.
-
Pages
-
Status
-
Description
-
Exhibit No.
-
Trial Exhibit No.
-
Common Name

Note: You can set up your selections in Case Story User Preferences so that you don't have to select the same options every time you want to export the document data.
-
-
Click the Export button in the Export Document Data dialog.


The Export Document Data dialog appears.
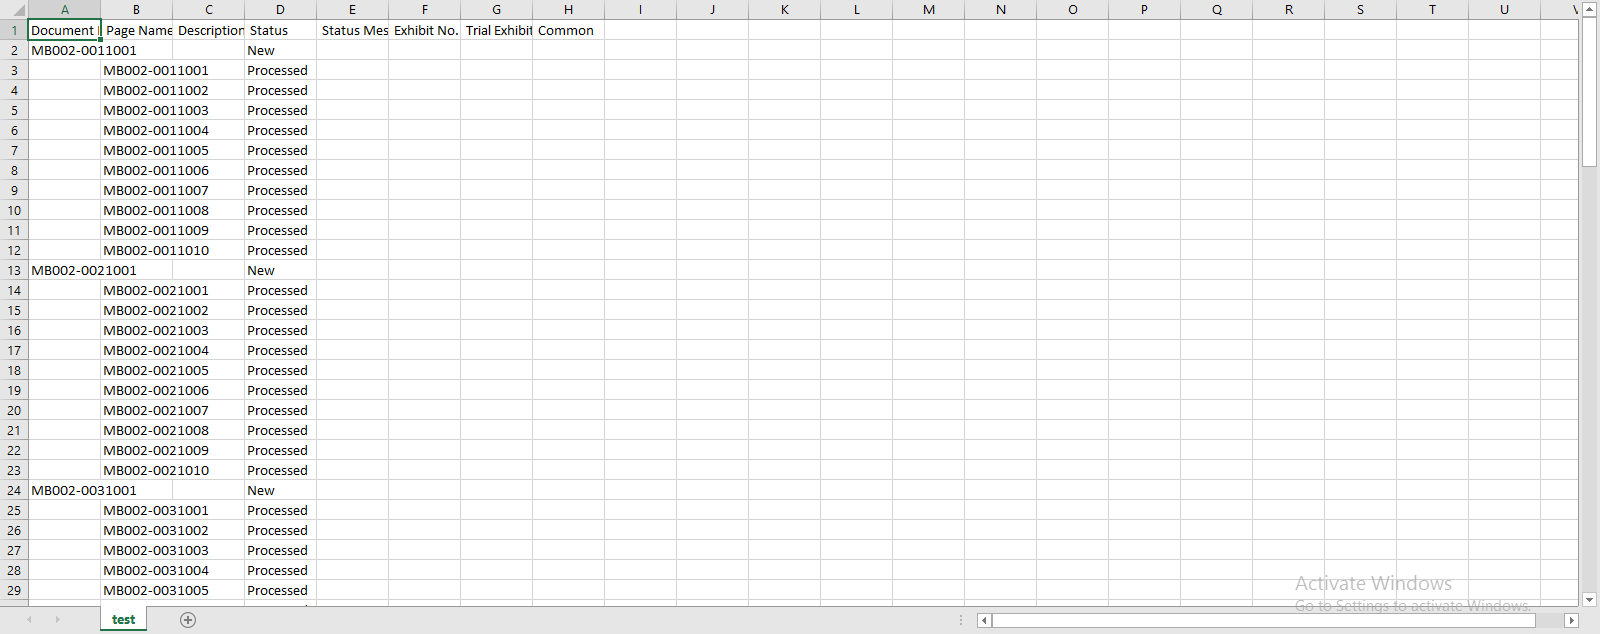
The export file is generated at the location you selected.
The export file can look like this:
Related Topics
Version: 2023.8.12
Last Revision: 11/8/2023