Edit an Issue Type in Case Manager
In Case Manager, you can open a case and edit any issue type's information on the Issues tab.
-
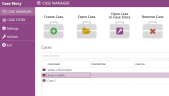
Open Case Story and select the Case Manager tab in the left navigation bar. Double-click on a case in the cases table to open it.
-
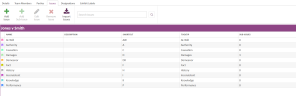
Select the Issues tab in the ribbon bar. The Issues table appears.
-
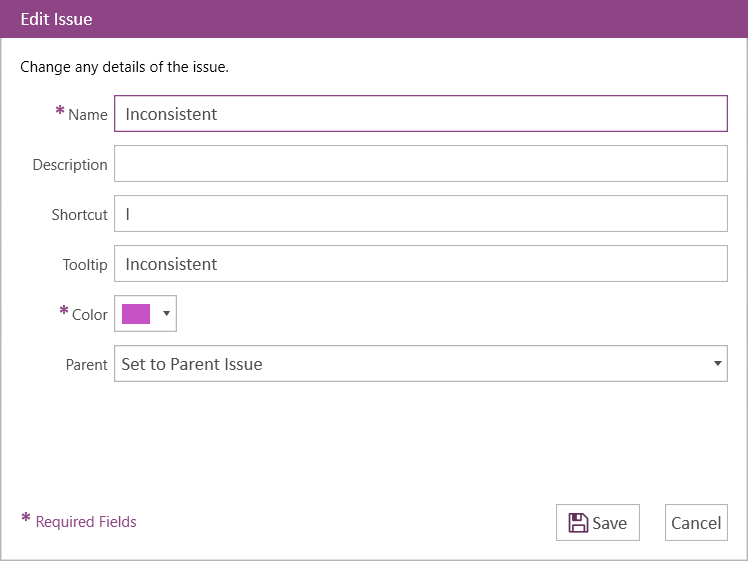
Click the Edit Issue button.

The Edit Issue dialog appears.

-
Update information for the issue.
Make edits to any of the following information in the Edit Issue dialog:
-
Name - The name to identify the issue.
- Description - A short description that briefly explains the issue type.
-
Shortcut - The shortcut keys to apply the issue to a transcript. (See Apply an Issue to a Transcript for more information on this procedure.)
-
Tooltip - A short phrase to help describe the issue or its purpose.
-
Color - The color assigned to help identify the issue when it appears in a list or a transcript.
-
Parent - The issue type can be set as a parent issue (i.e. first-level issue), or set as a sub-issue of another issue type already part of the case.
With the information filled in, you can move on to the next step.
-
-
Click the Save button.
There are two save options for your convenience:
-
Save - Saves the issue, does not close the dialog, and clears the fields so you can create another issue right away.
-
Save & Close - Saves the issue and closes the Add Issue dialog.
When an issue type is added to a case, it appears in the Issues Applicator.
-


Related Topics
Version: 2023.8.12
Last Revision: 11/8/2023