Add an Exhibit Label
You can add an Exhibit Label in the following areas:
-
In Case Manager
-
In Case Story in the Document Annotations Panel
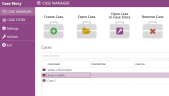
In Case Manager, you can add exhibit labels to your case from the Exhibit Labels tab in an open case.
To add an exhibit label:
-
Open Case Manager.
-
Double-click a case to open it.
-
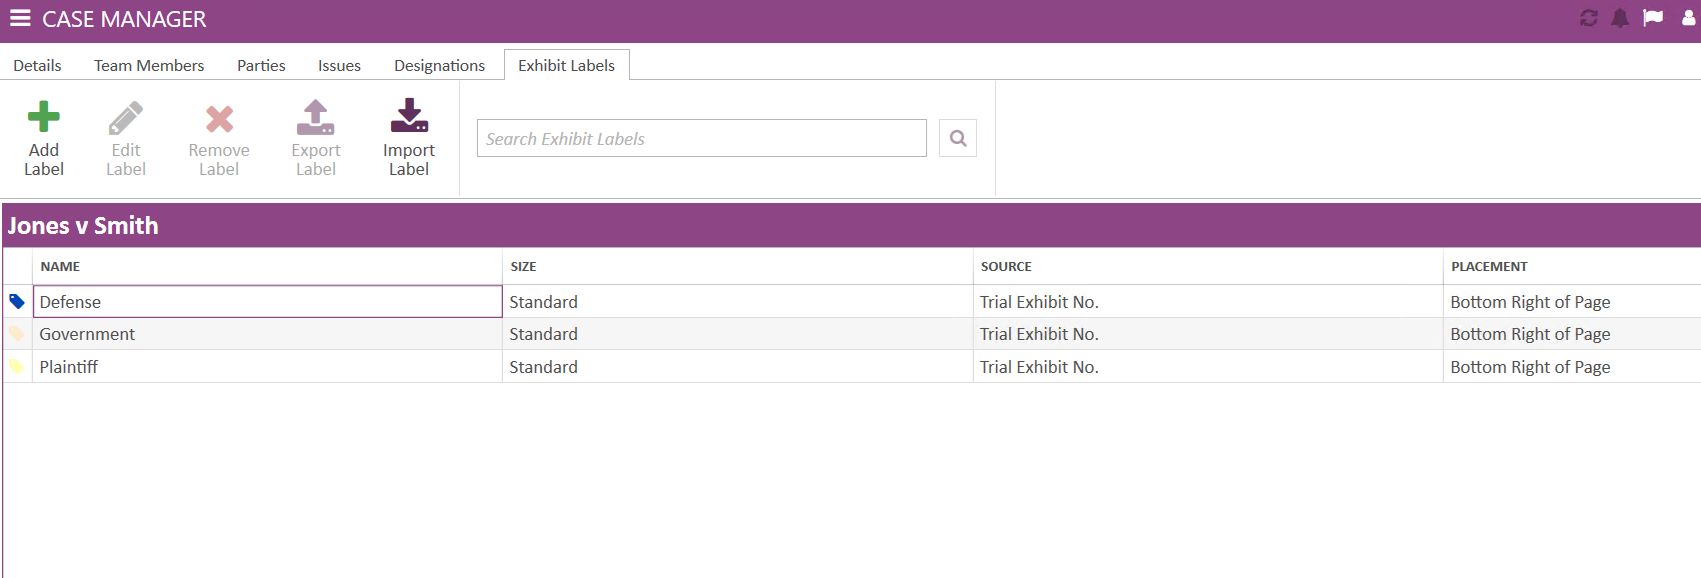
Select the Exhibit Labels tab. The Exhibit Label table appears.

-
Click the Add Label button.

The Add Exhibit Label dialog box appears.
-
Enter the information for the exhibit label in the dialog box.
You can input the following information:
Option
Description
Name
The name of the exhibit label
Apply on Image
The option for where to place the exhibit label on the case item.
Number Source
The option to choose between Page Id, Exhibit No., Trial Exhibit No., and Case No. for your source.
Style Options
-
Standard - The option for a square shaped label.
-
Long - The option for a longer rectangle shaped label.
-
Background - Selects the background color of the exhibit label.
-
Text - Selects the text color of the exhibit label.
-
Border - The option to include a border around the exhibit label.
-
Rounded Corners - The option to include rounded corners on all 4 sides of the exhibit label.
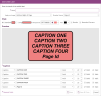
Caption
These 5 options allow for customizing each line in the exhibit label.
Caption Selection - Select between Caption and Source.
Custom Text - Enter custom text in each line.
Font Style - Select different typefaces.
Font Size - Select a font size within specific range.
Bold - Select to make caption text bold.
Italics - Select to italicize caption text.
-
-
Click the Save & Close button.


The dialog box closes, and the exhibit label is added to the case.
Add an Exhibit Label in Evidence
In Case Story, you can add exhibit labels to your case from the Annotations Panel in an open document.
To add an exhibit label:
-
To open the Annotations Panel, open a document and click the Annotations button in the ribbon bar above the open document.

-
Click the Add button in the Exhibit Labels section.


The Add Exhibit Label dialog box appears.
-
Enter the information for the exhibit label in the dialog box.
You can input the following information:
Option
Description
Name
The name of the exhibit label
Apply on Image
The option for where to place the exhibit label on the case item.
Number Source
The option to choose between Page Id, Exhibit No., Trial Exhibit No., and Case No. for your source.
Style Options
-
Standard - The option for a square shaped label.
-
Long - The option for a longer rectangle shaped label.
-
Background - Selects the background color of the exhibit label.
-
Text - Selects the text color of the exhibit label.
-
Border - The option to include a border around the exhibit label.
-
Rounded Corners - The option to include rounded corners on all 4 sides of the exhibit label.
Caption
These 5 options allow for customizing each line in the exhibit label.
Caption Selection - Select between Caption and Source.
Custom Text - Enter custom text in each line.
Font Style - Select different typefaces.
Font Size - Select a font size within specific range.
Bold - Select to make caption text bold.
Italics - Select to italicize caption text.
-
-
Click the Save & Close button.
The dialog box closes, and the exhibit label is added to the case.
-
Click the Apply button to add the new exhibit label to the document.


Note: You must save changes once annotations and exhibit labels are created and/or applied. See Apply Annotations to a Document for more information on saving annotations.


Related Topics
Version: 2023.8.12
Last Revision: 11/8/2023